
Manage a booking
Open a booking to reschedule, change the service, complete, cancel, or mark a no-show.
Updated 2026-09-28
Click any booking on the schedule to open its detail dialog. What you can do depends on the booking's status, shown as a pill next to the client's name.
Open a booking
Click the booking
On the schedule grid, click the booking card. The detail dialog opens.
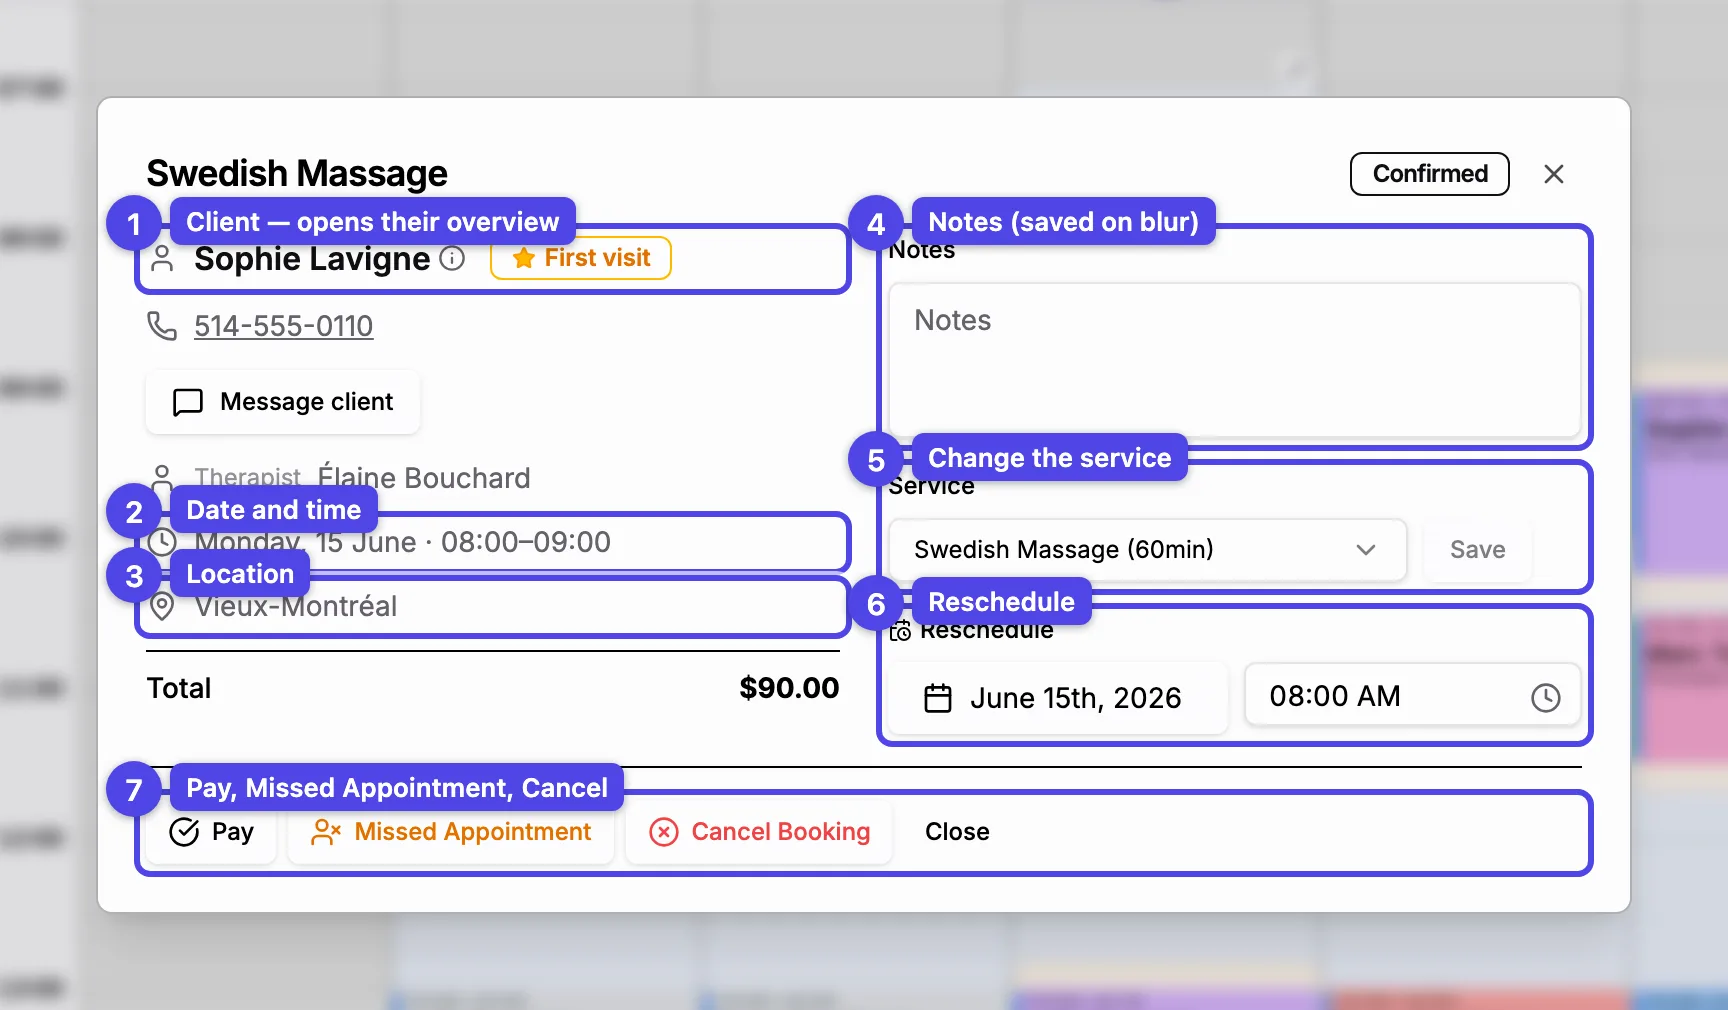
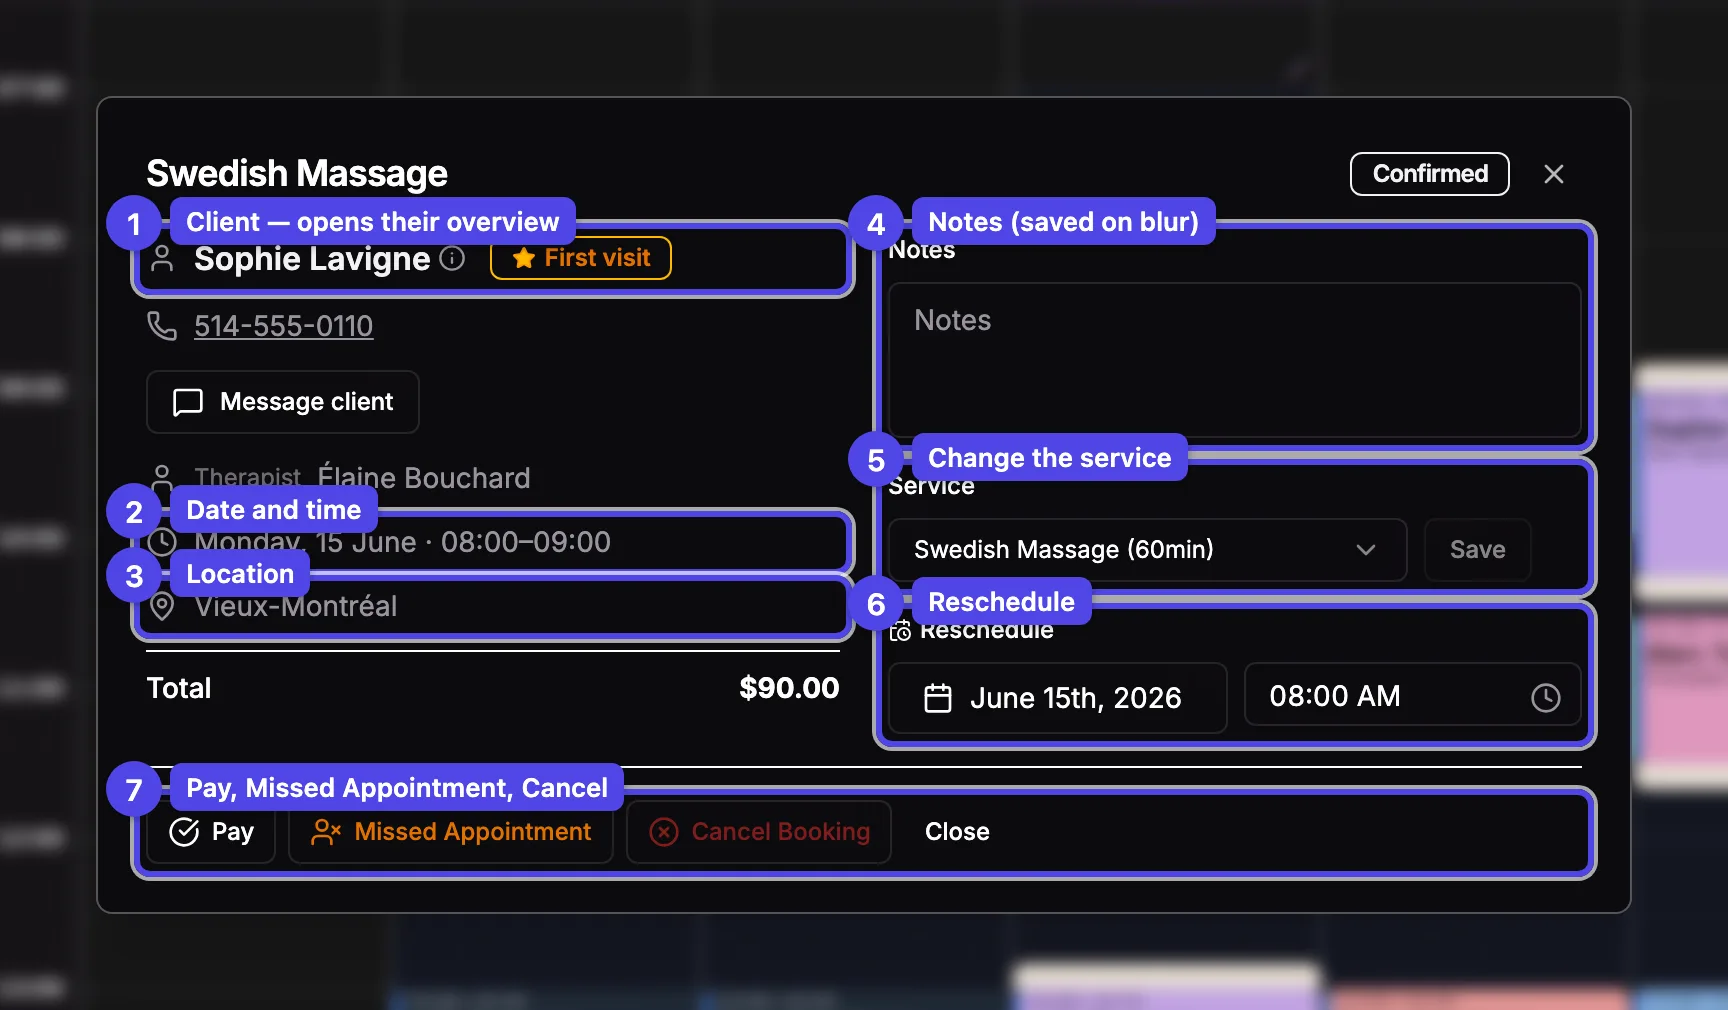
What you see
The numbers below match the screenshot.
- Client — the avatar and name. Click them to open the client's overview (contact info and upcoming bookings); a First visit badge appears for a client's first booking. The phone number, a card-on-file line, and a Message client button sit nearby.
- Status — the booking's status (Confirmed, Pending, Completed, No-show).
- Date and time — the day and start–end time.
- Location — where it happens. For an at-home booking the address shows here with a directions link. An online session shows Online session (video) and its video panel — see Online sessions.
- Notes — internal notes. While the booking is Confirmed or Pending you can edit them and they save when you click away; once it's Completed or a no-show they appear as read-only text (and only when a note was written).
- Modify — click Modify in the footer to reveal this panel, then change the service and/or pick a new date and time and click Save changes. Changing the time shows a Send a confirmation email to the client option; if a change would overlap another booking you're asked to confirm.
- Action buttons — the buttons available depend on status (see below).
The Modify panel is available while a booking is Confirmed. The service selector is hidden when a gift certificate is applied (the service is fixed to the certificate) — you can still reschedule. Completed and no-show bookings show Documents and Payments sections instead of the editable controls.
For a forfait (multi-service) visit, the dialog also lists every service of the visit, and below the price summary you can Add a service to extend it — see the Forfaits article under Settings.
Apply a discount
While a booking is Confirmed you can reduce the service price directly from the dialog — for a loyalty gesture, a service recovery, or a client who forgot their promo code when booking.
Click Add discount
Under the price, click Add discount.
Choose Promo code or Amount
Enter a Promo code and click Apply, or switch to Amount and type a dollar amount (use the % toggle to enter a percentage instead), then click Apply.
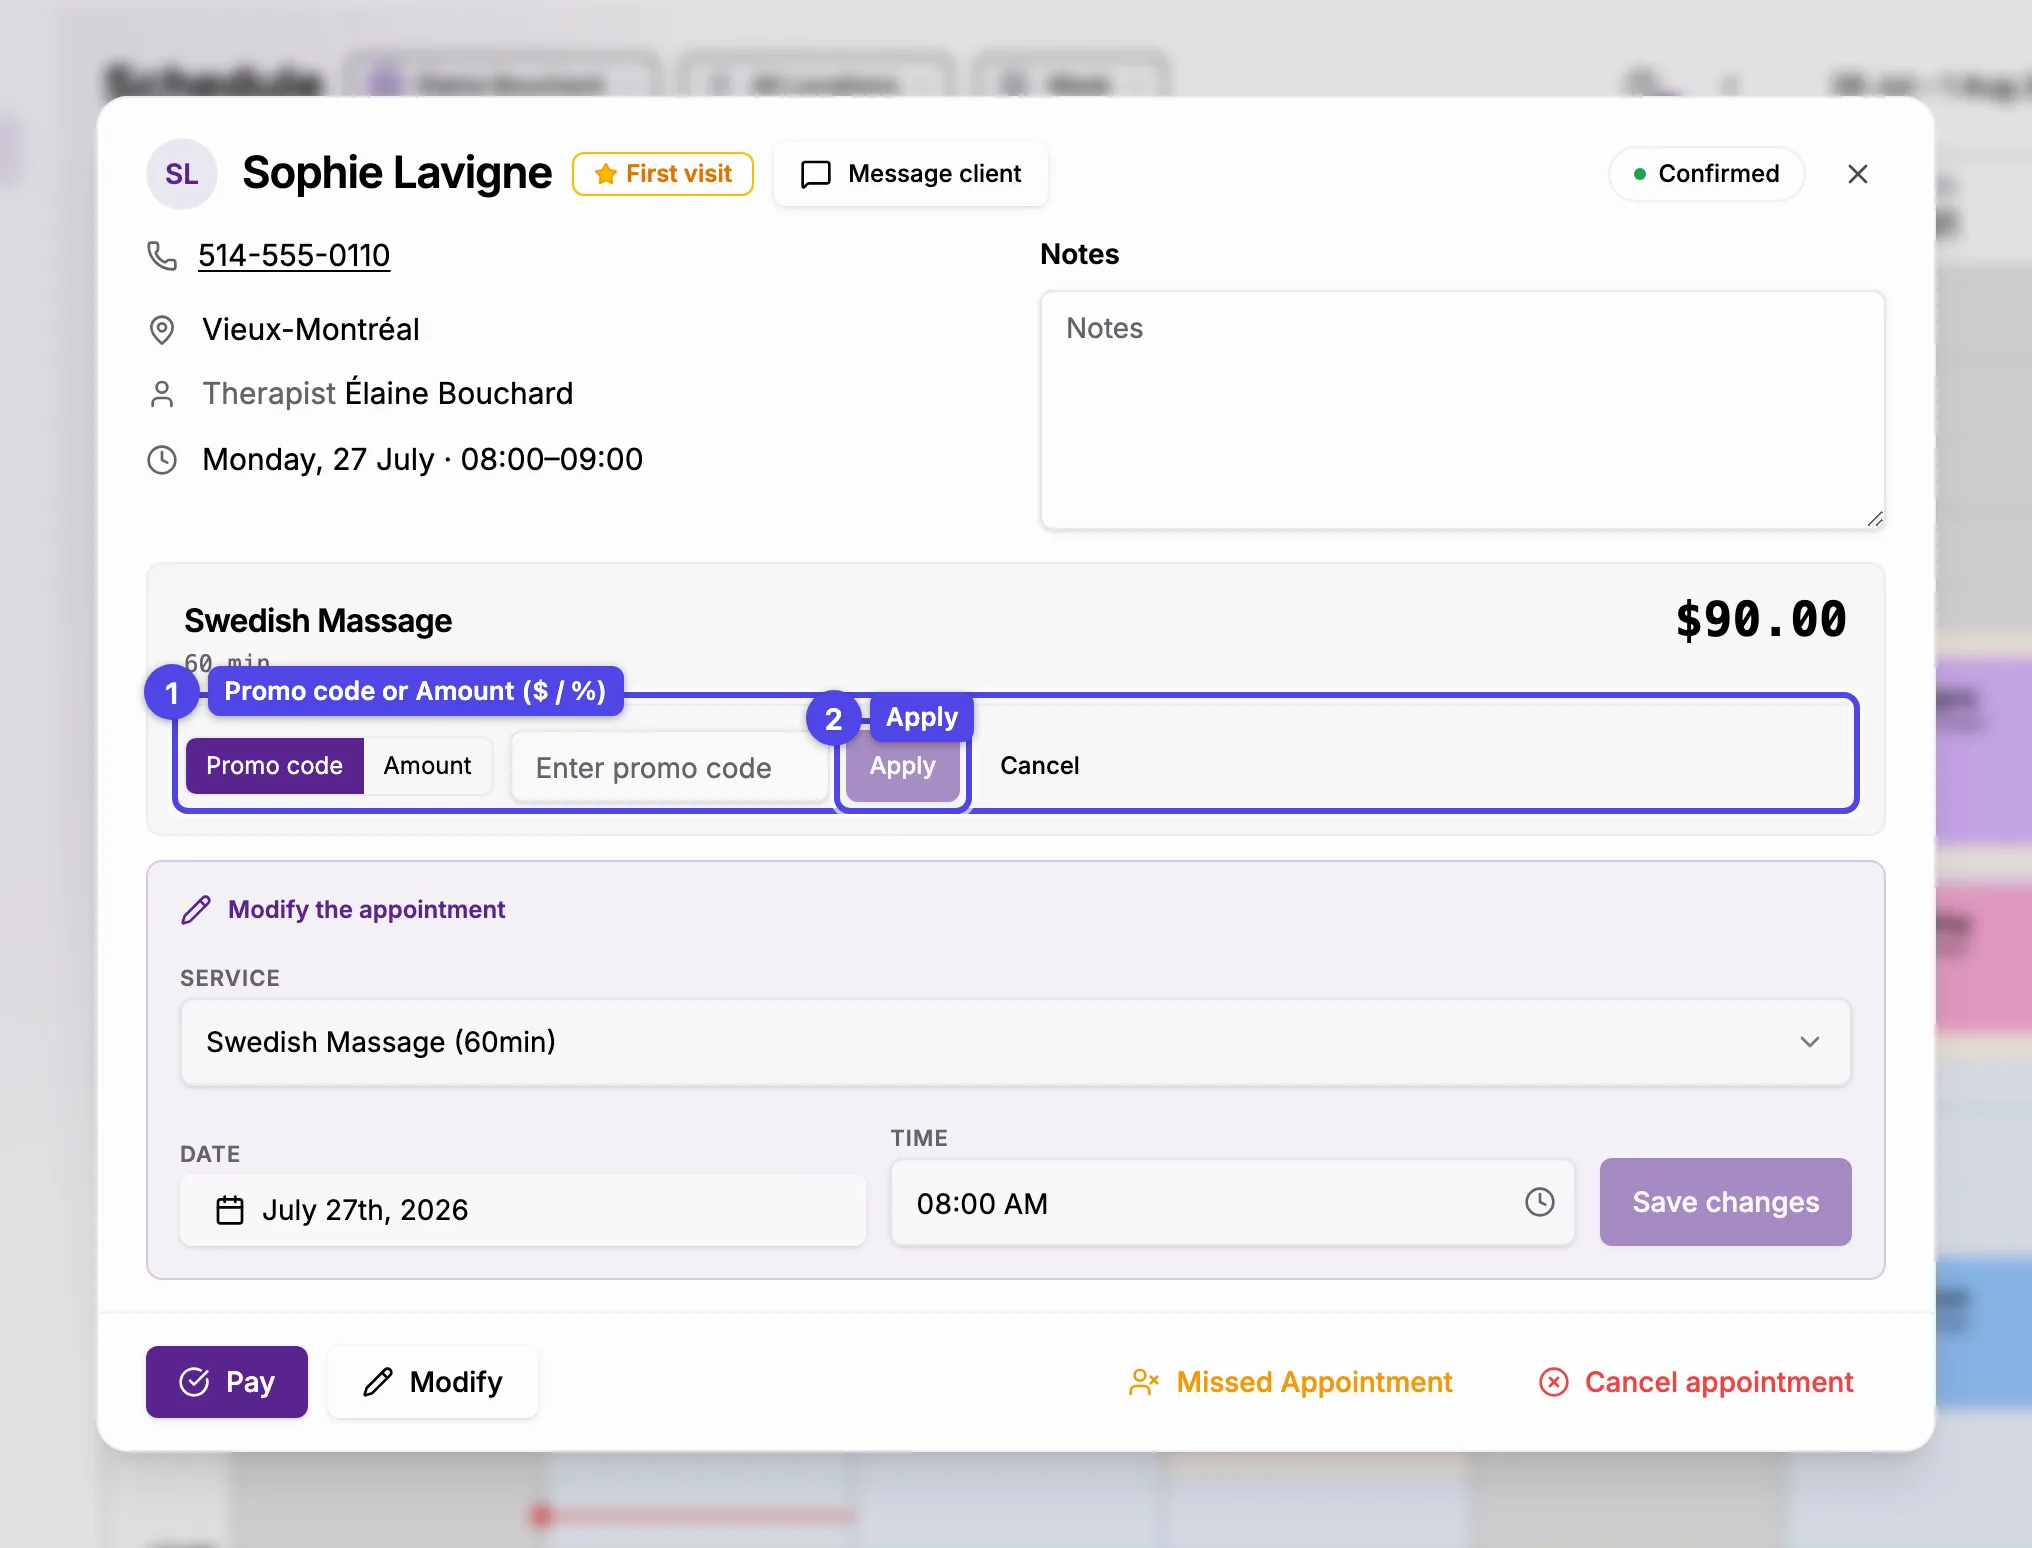
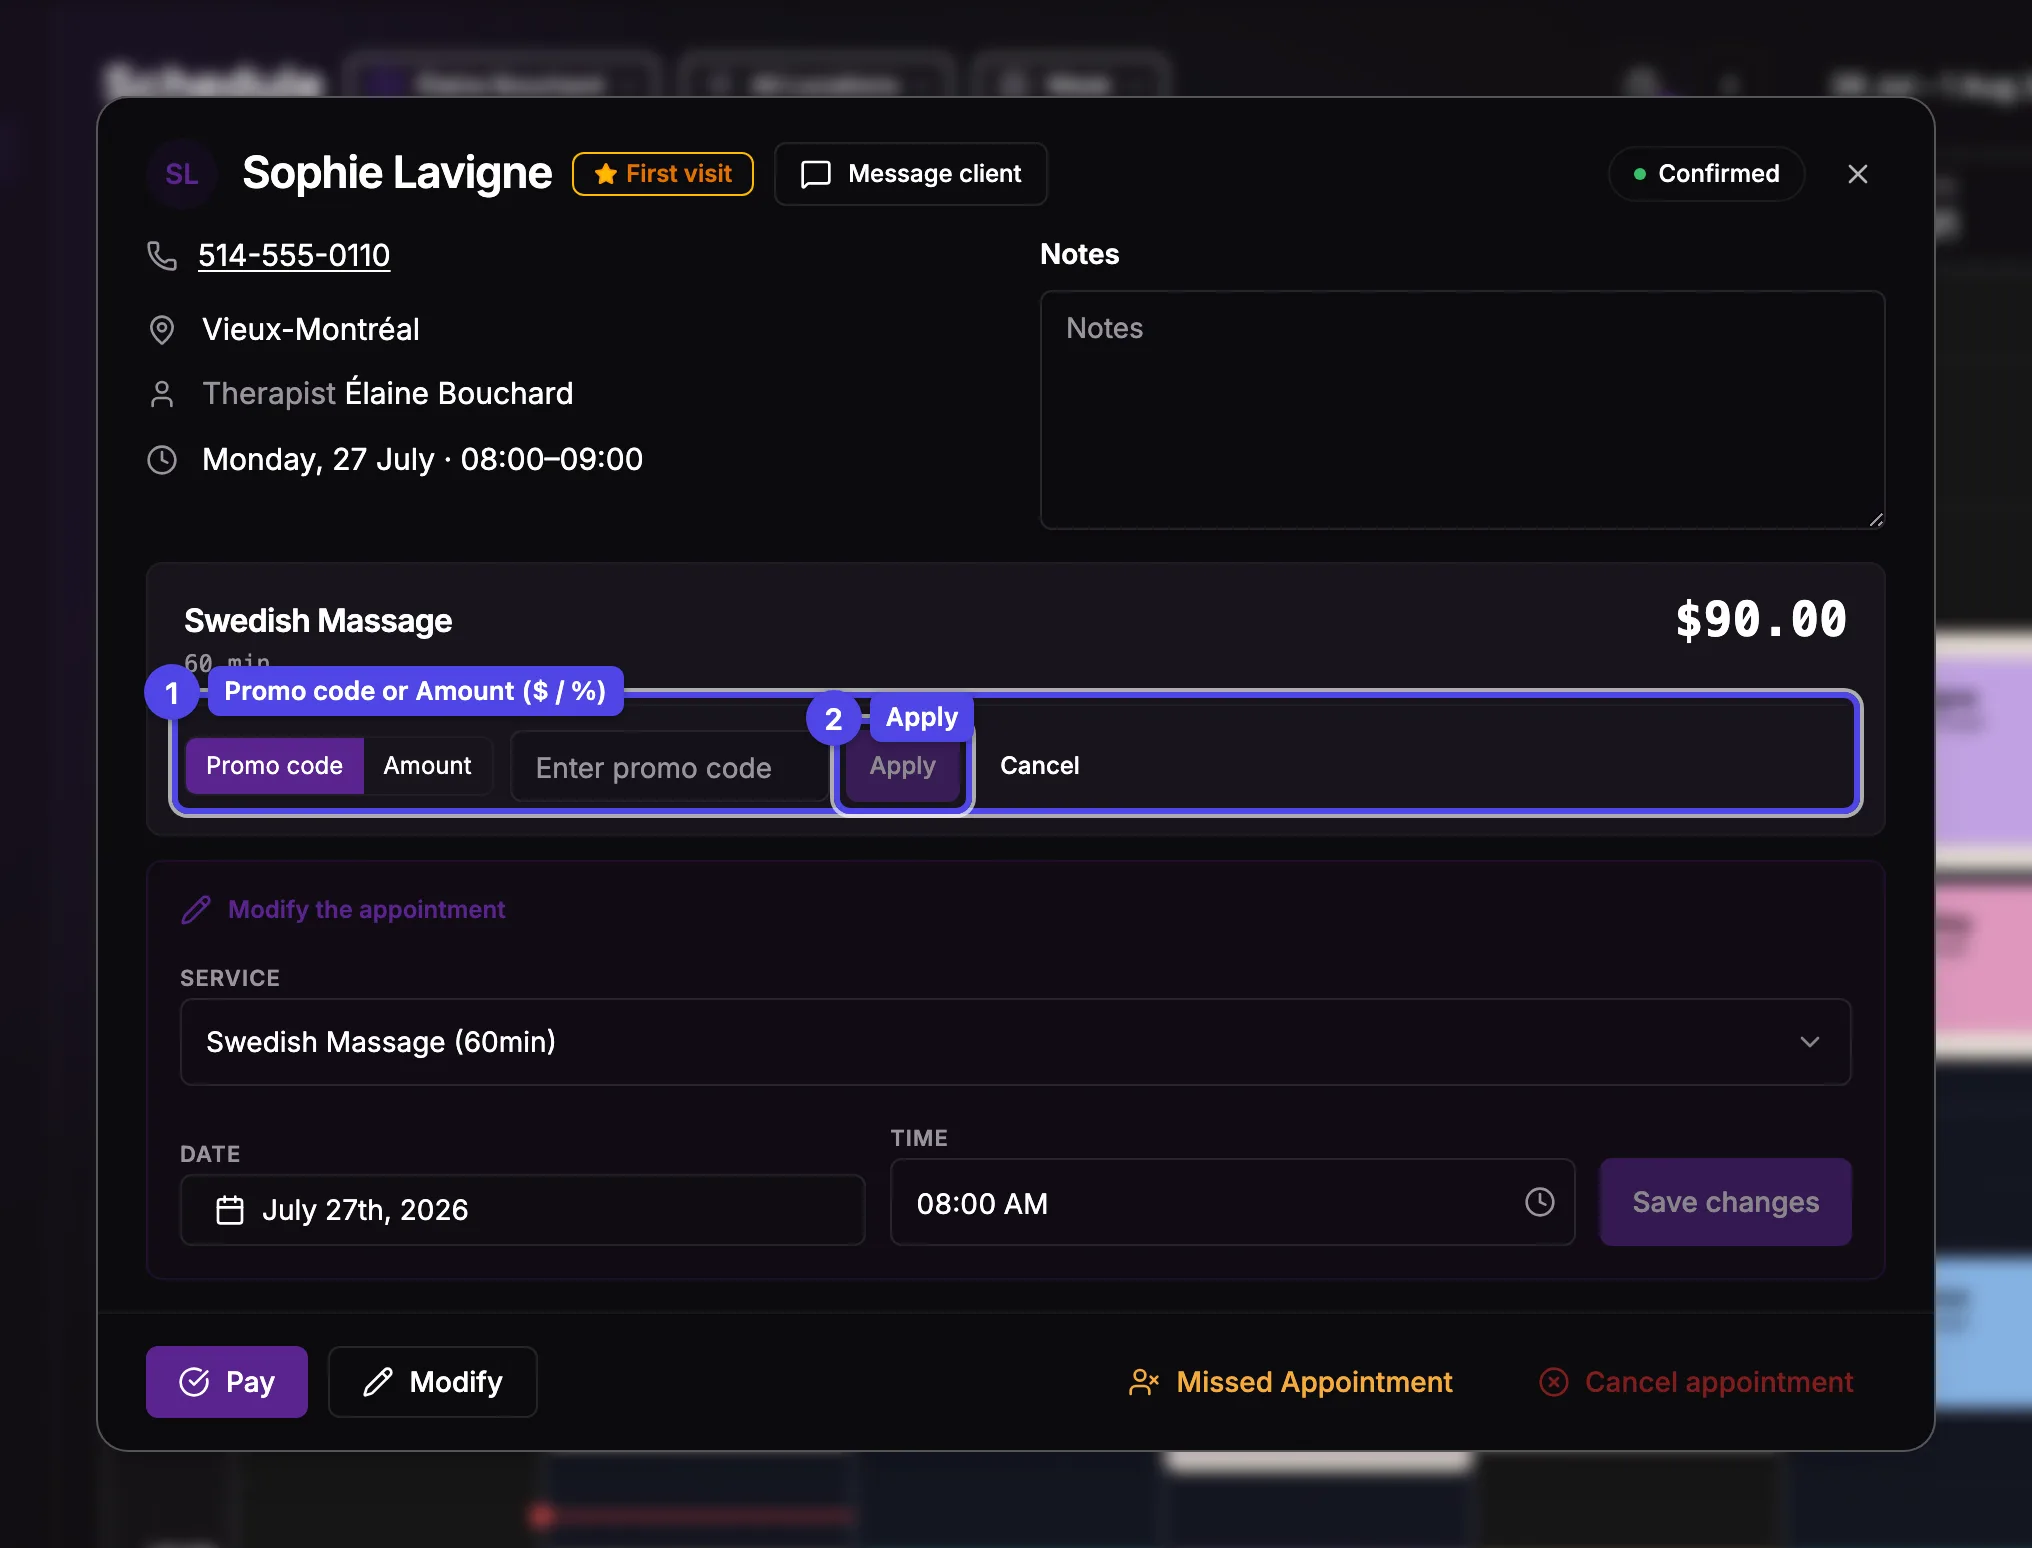
Taxes and the total are recalculated on the discounted price, and the client's emails and receipt show the discount. Once a discount is applied, Modify replaces it and Remove takes it off.
Promo codes are checked against the code's own rules (validity dates, usage limits, eligible services, locations and team members) for this booking's client. A discount can't be combined with a gift certificate.
Actions by status
The footer buttons change with the booking's status:
- Pending — Approve (confirms and notifies the client) or Decline.
- Confirmed — Pay (opens the payment/completion flow), Modify (the panel above), Missed Appointment (marks a no-show), or Cancel appointment.
- Completed or Missed Appointment (no-show) — Revert to Confirmed (a gift certificate the booking used stays applied — it isn't refunded). Completed bookings also show Documents (receipt and invoice, each with a PDF download — plus a Generate receipt option when none exists yet) and Payments (with a Refund action). A no-show with a card on file shows a Charge no-show fee option, and any charge then appears under Payments.
- Close the dialog any time with the ✕ in the top-right corner.
Cancel appointment and Decline free the slot and can email the client. A cancelled booking opened again (from the month view or a link) also offers Revert to Confirmed — unless it used a promo code or gift certificate: rebook it instead. If its time has been taken since, Booking overlaps existing schedule asks you to confirm, which needs full schedule access.
Drag to reschedule


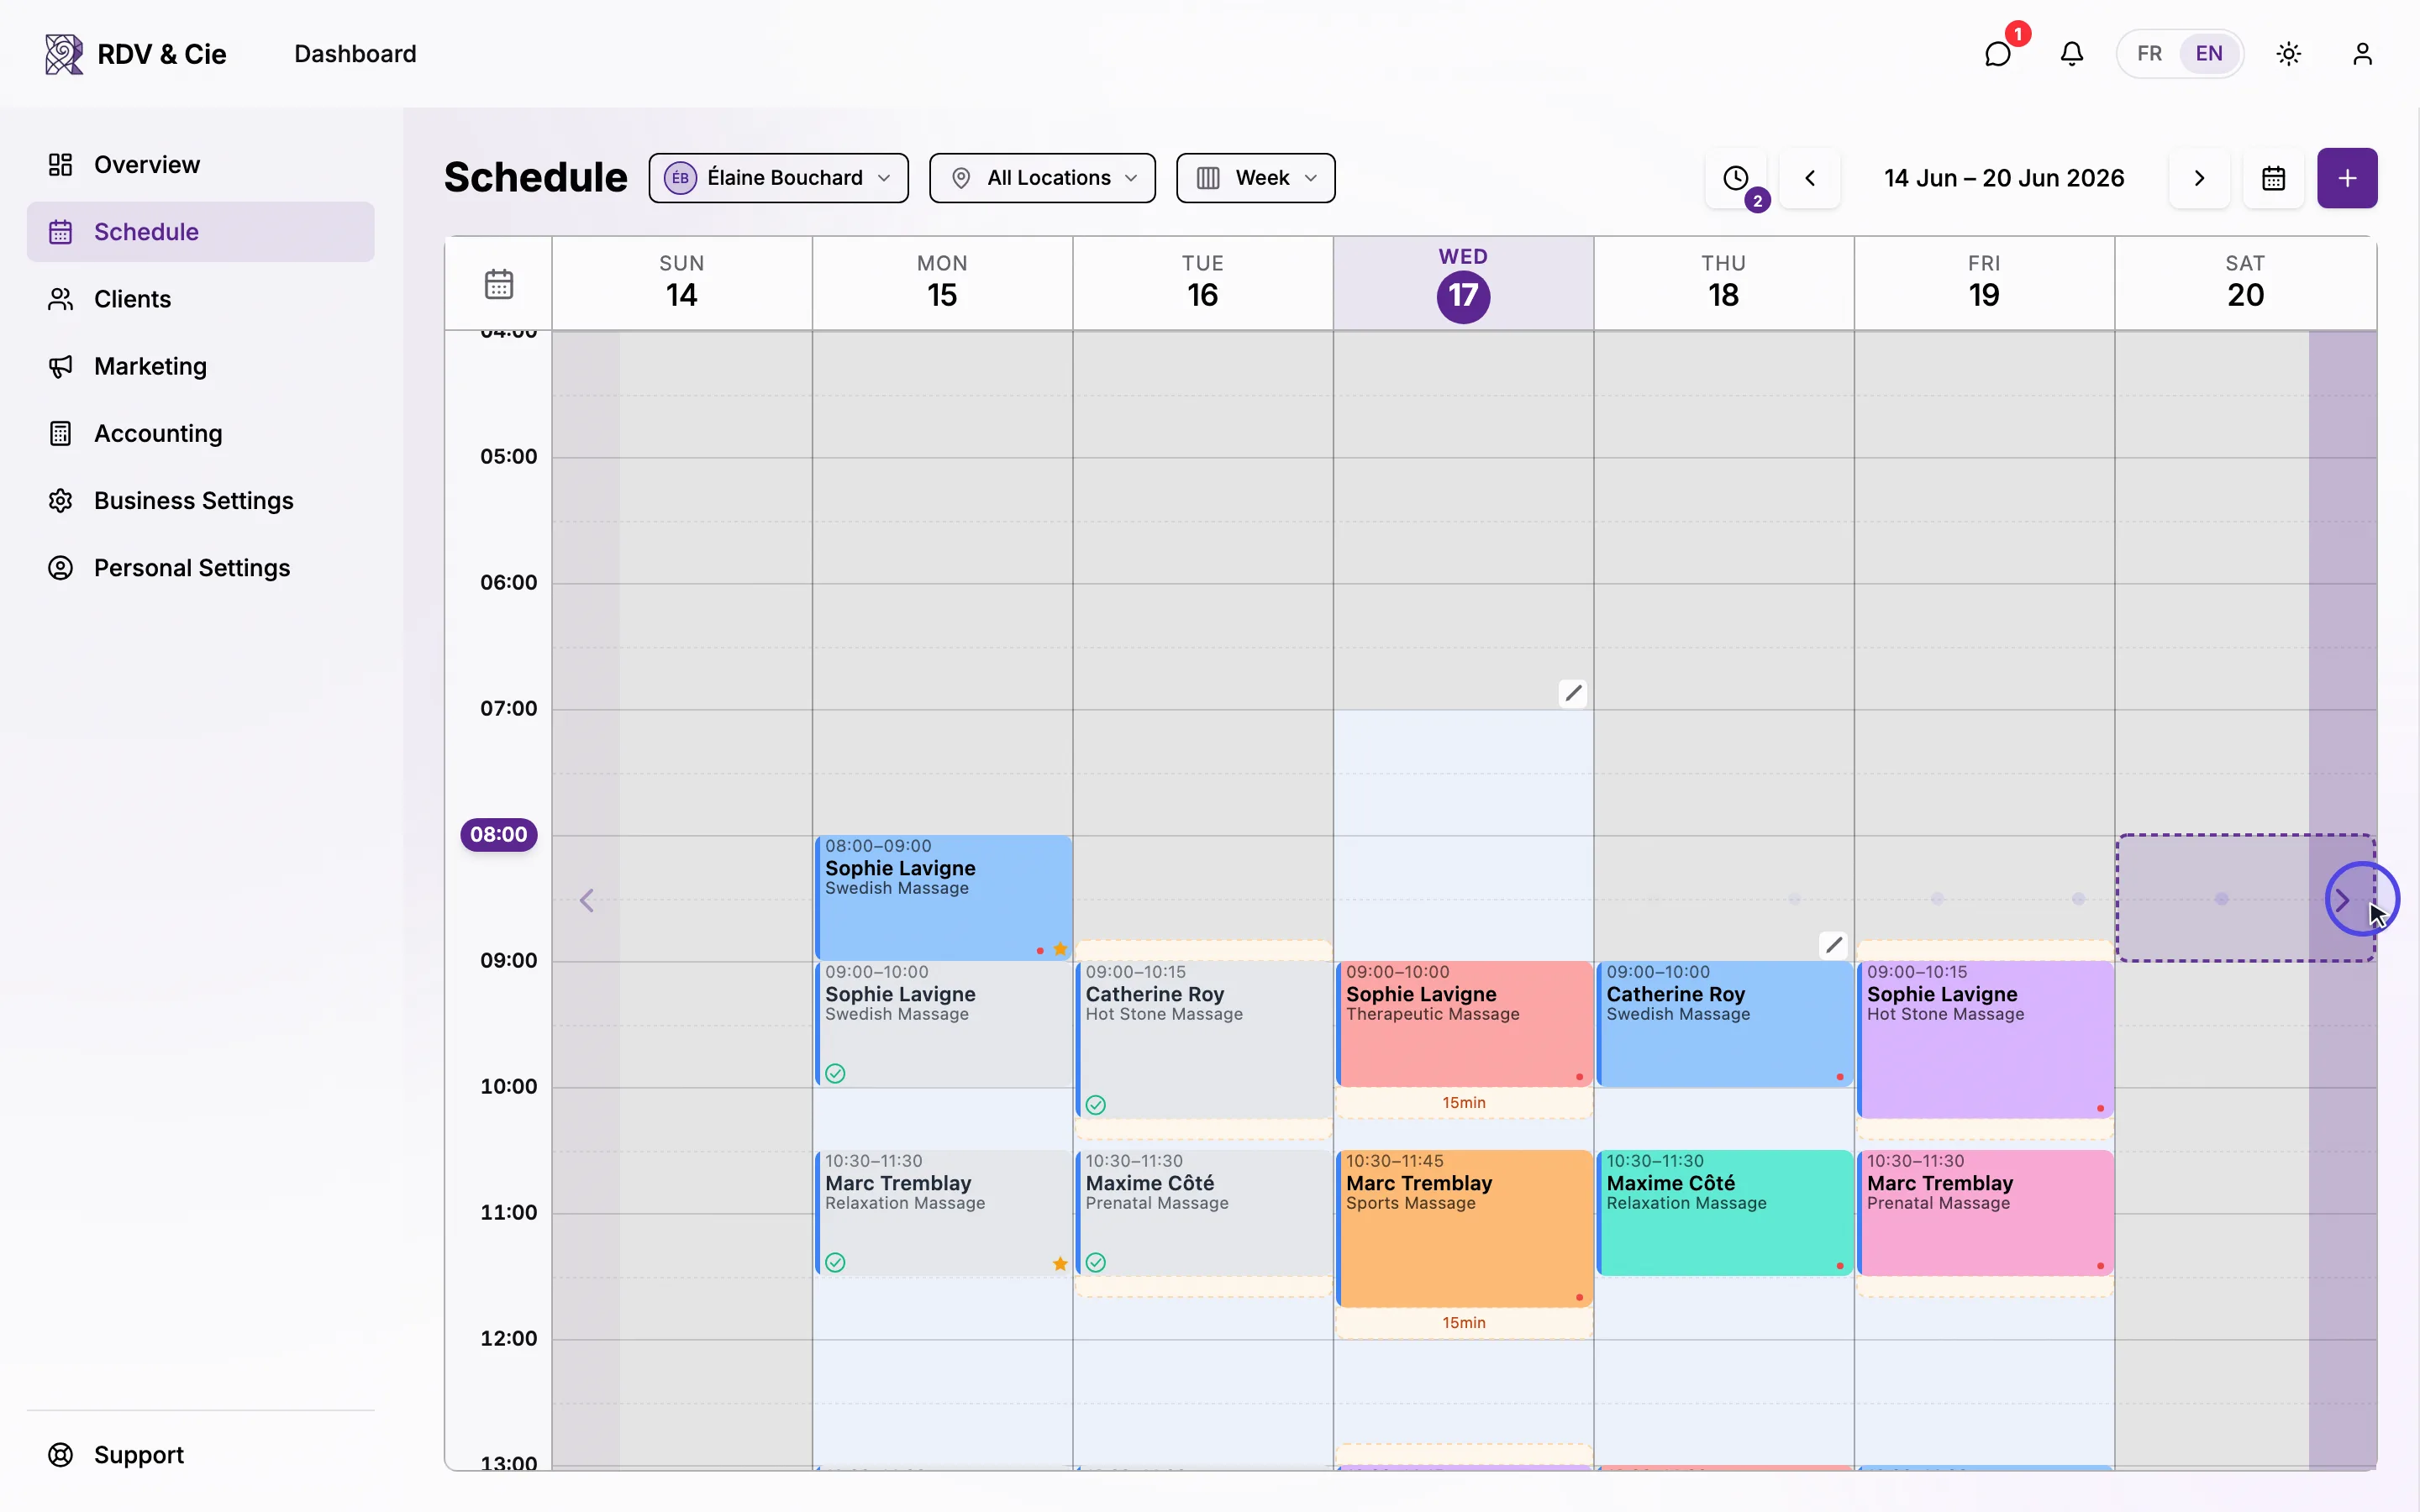
You can also drag a booking card to a new time directly on the grid. Press and hold the card, drag it to the new time, then confirm the move (and whether to email the client) — just like the Reschedule control above.


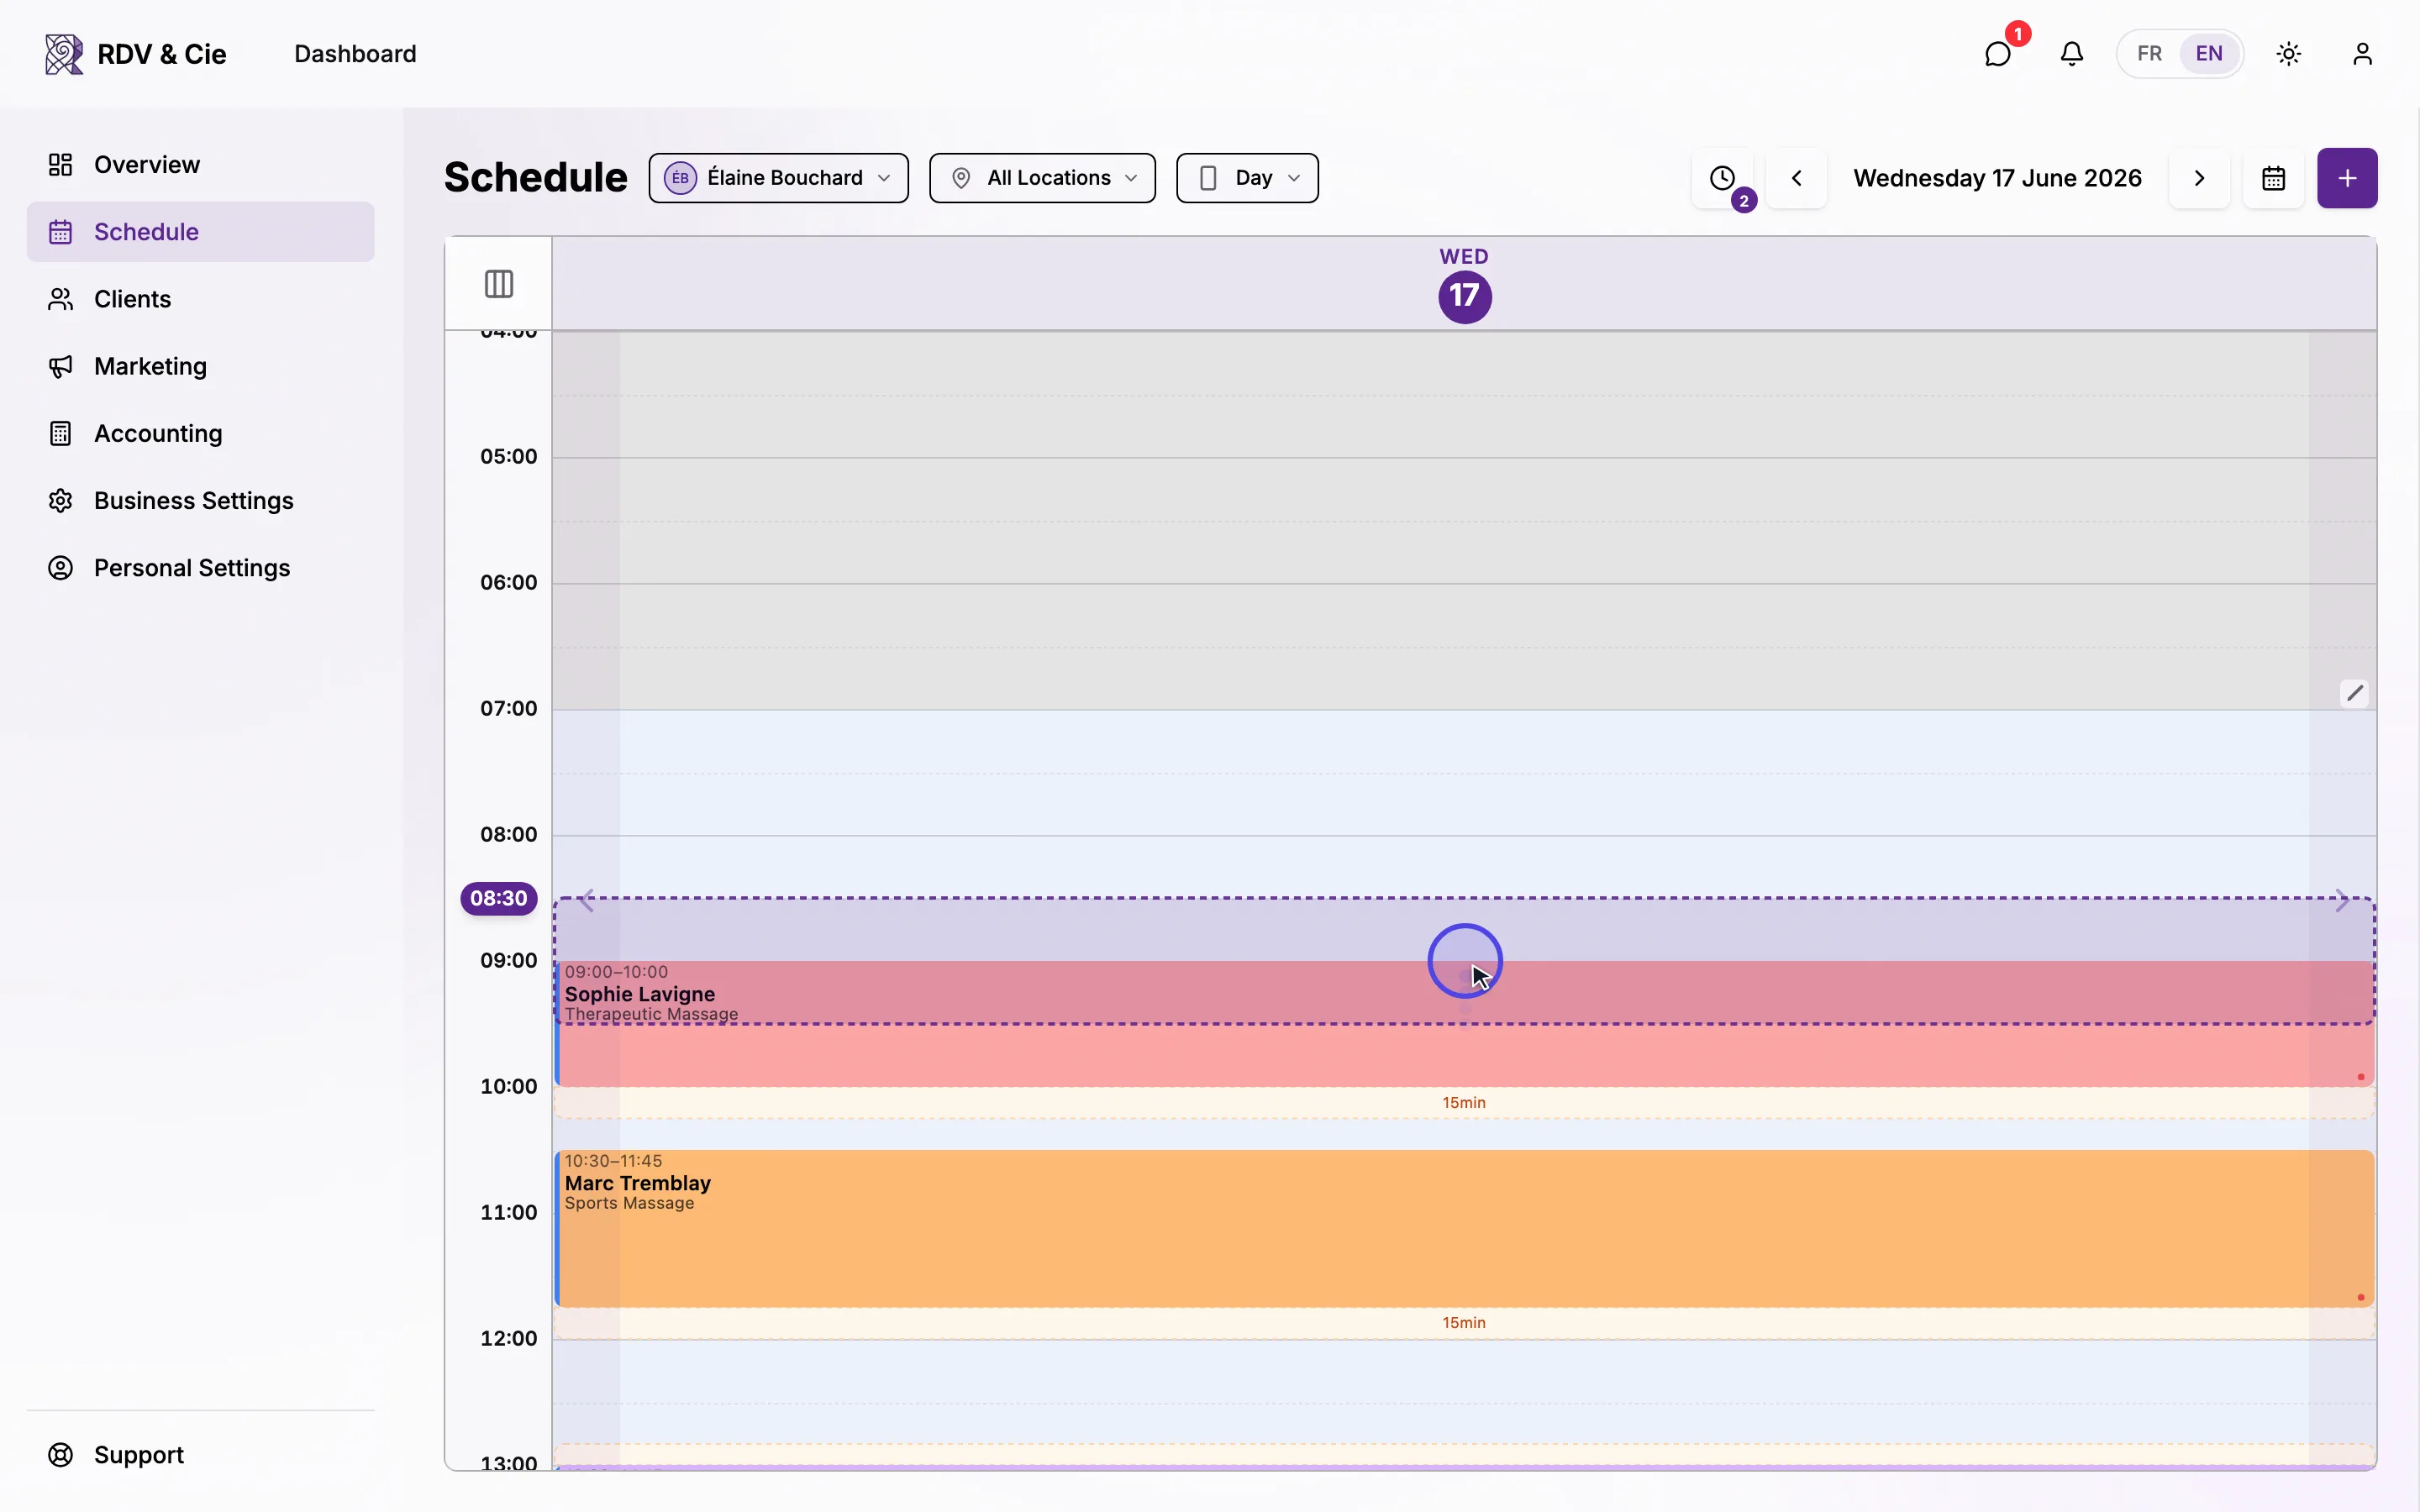
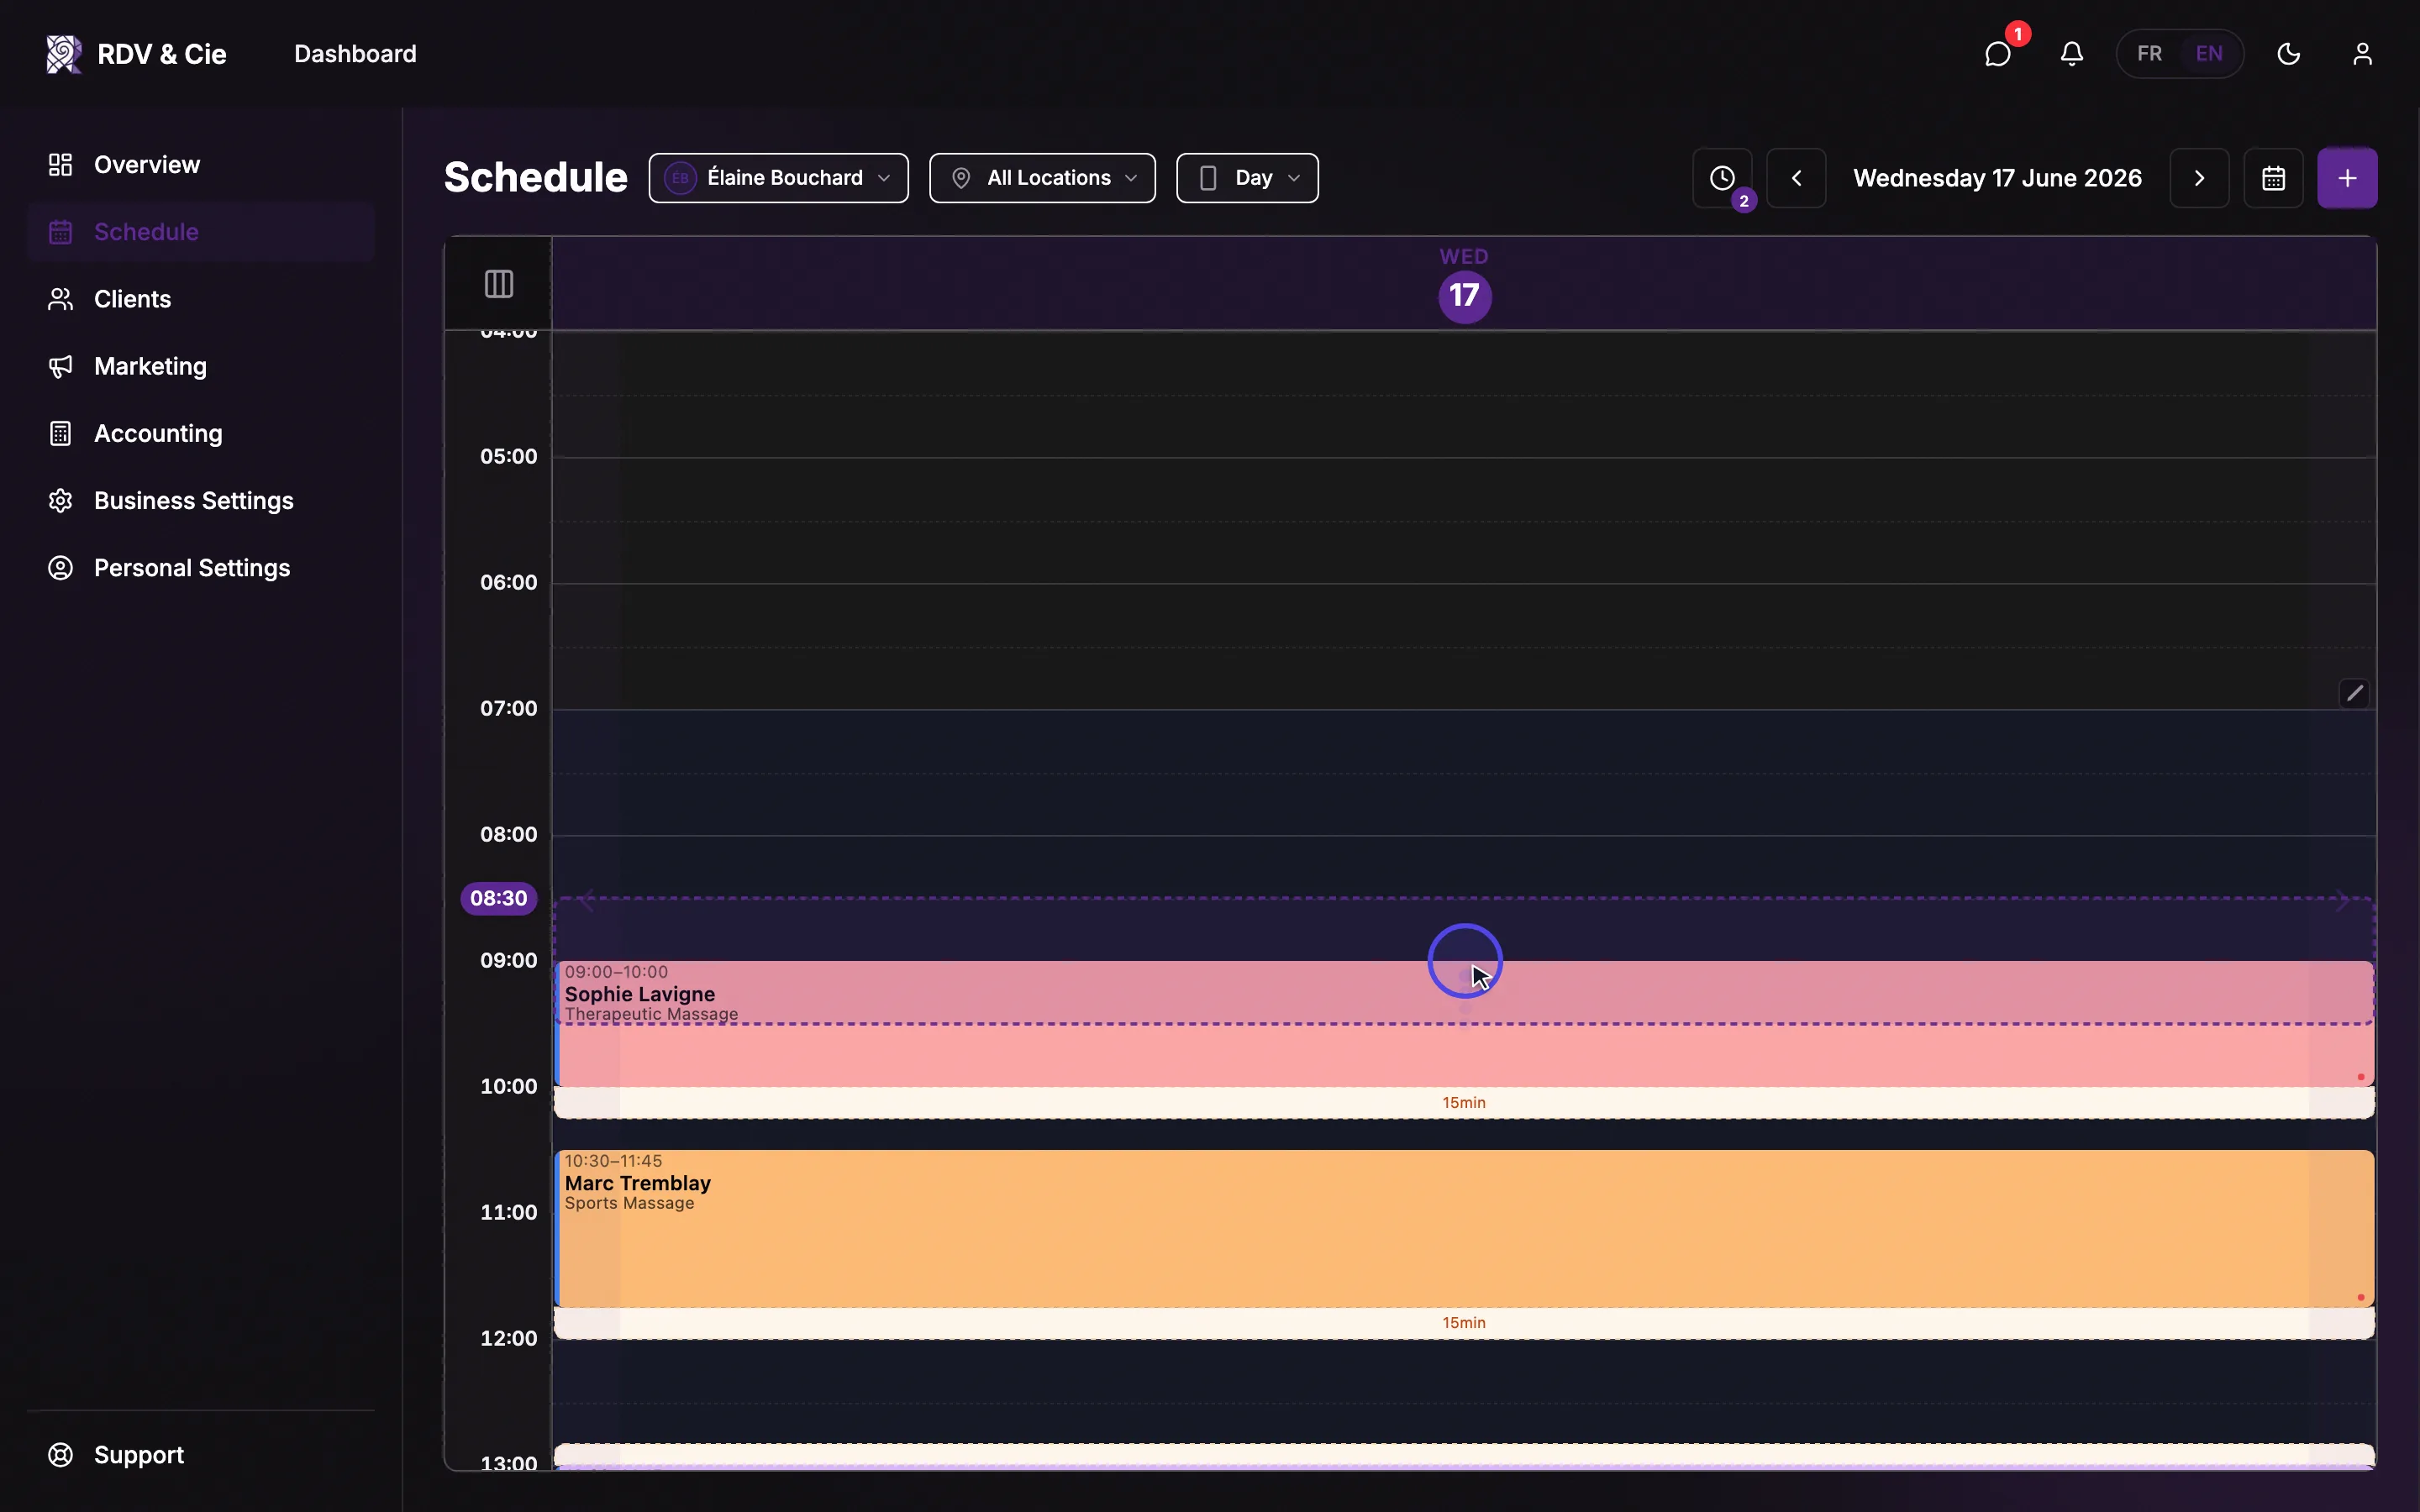
If the new time overlaps another booking, you'll get a warning first. You can still move it — the two bookings then sit side by side.


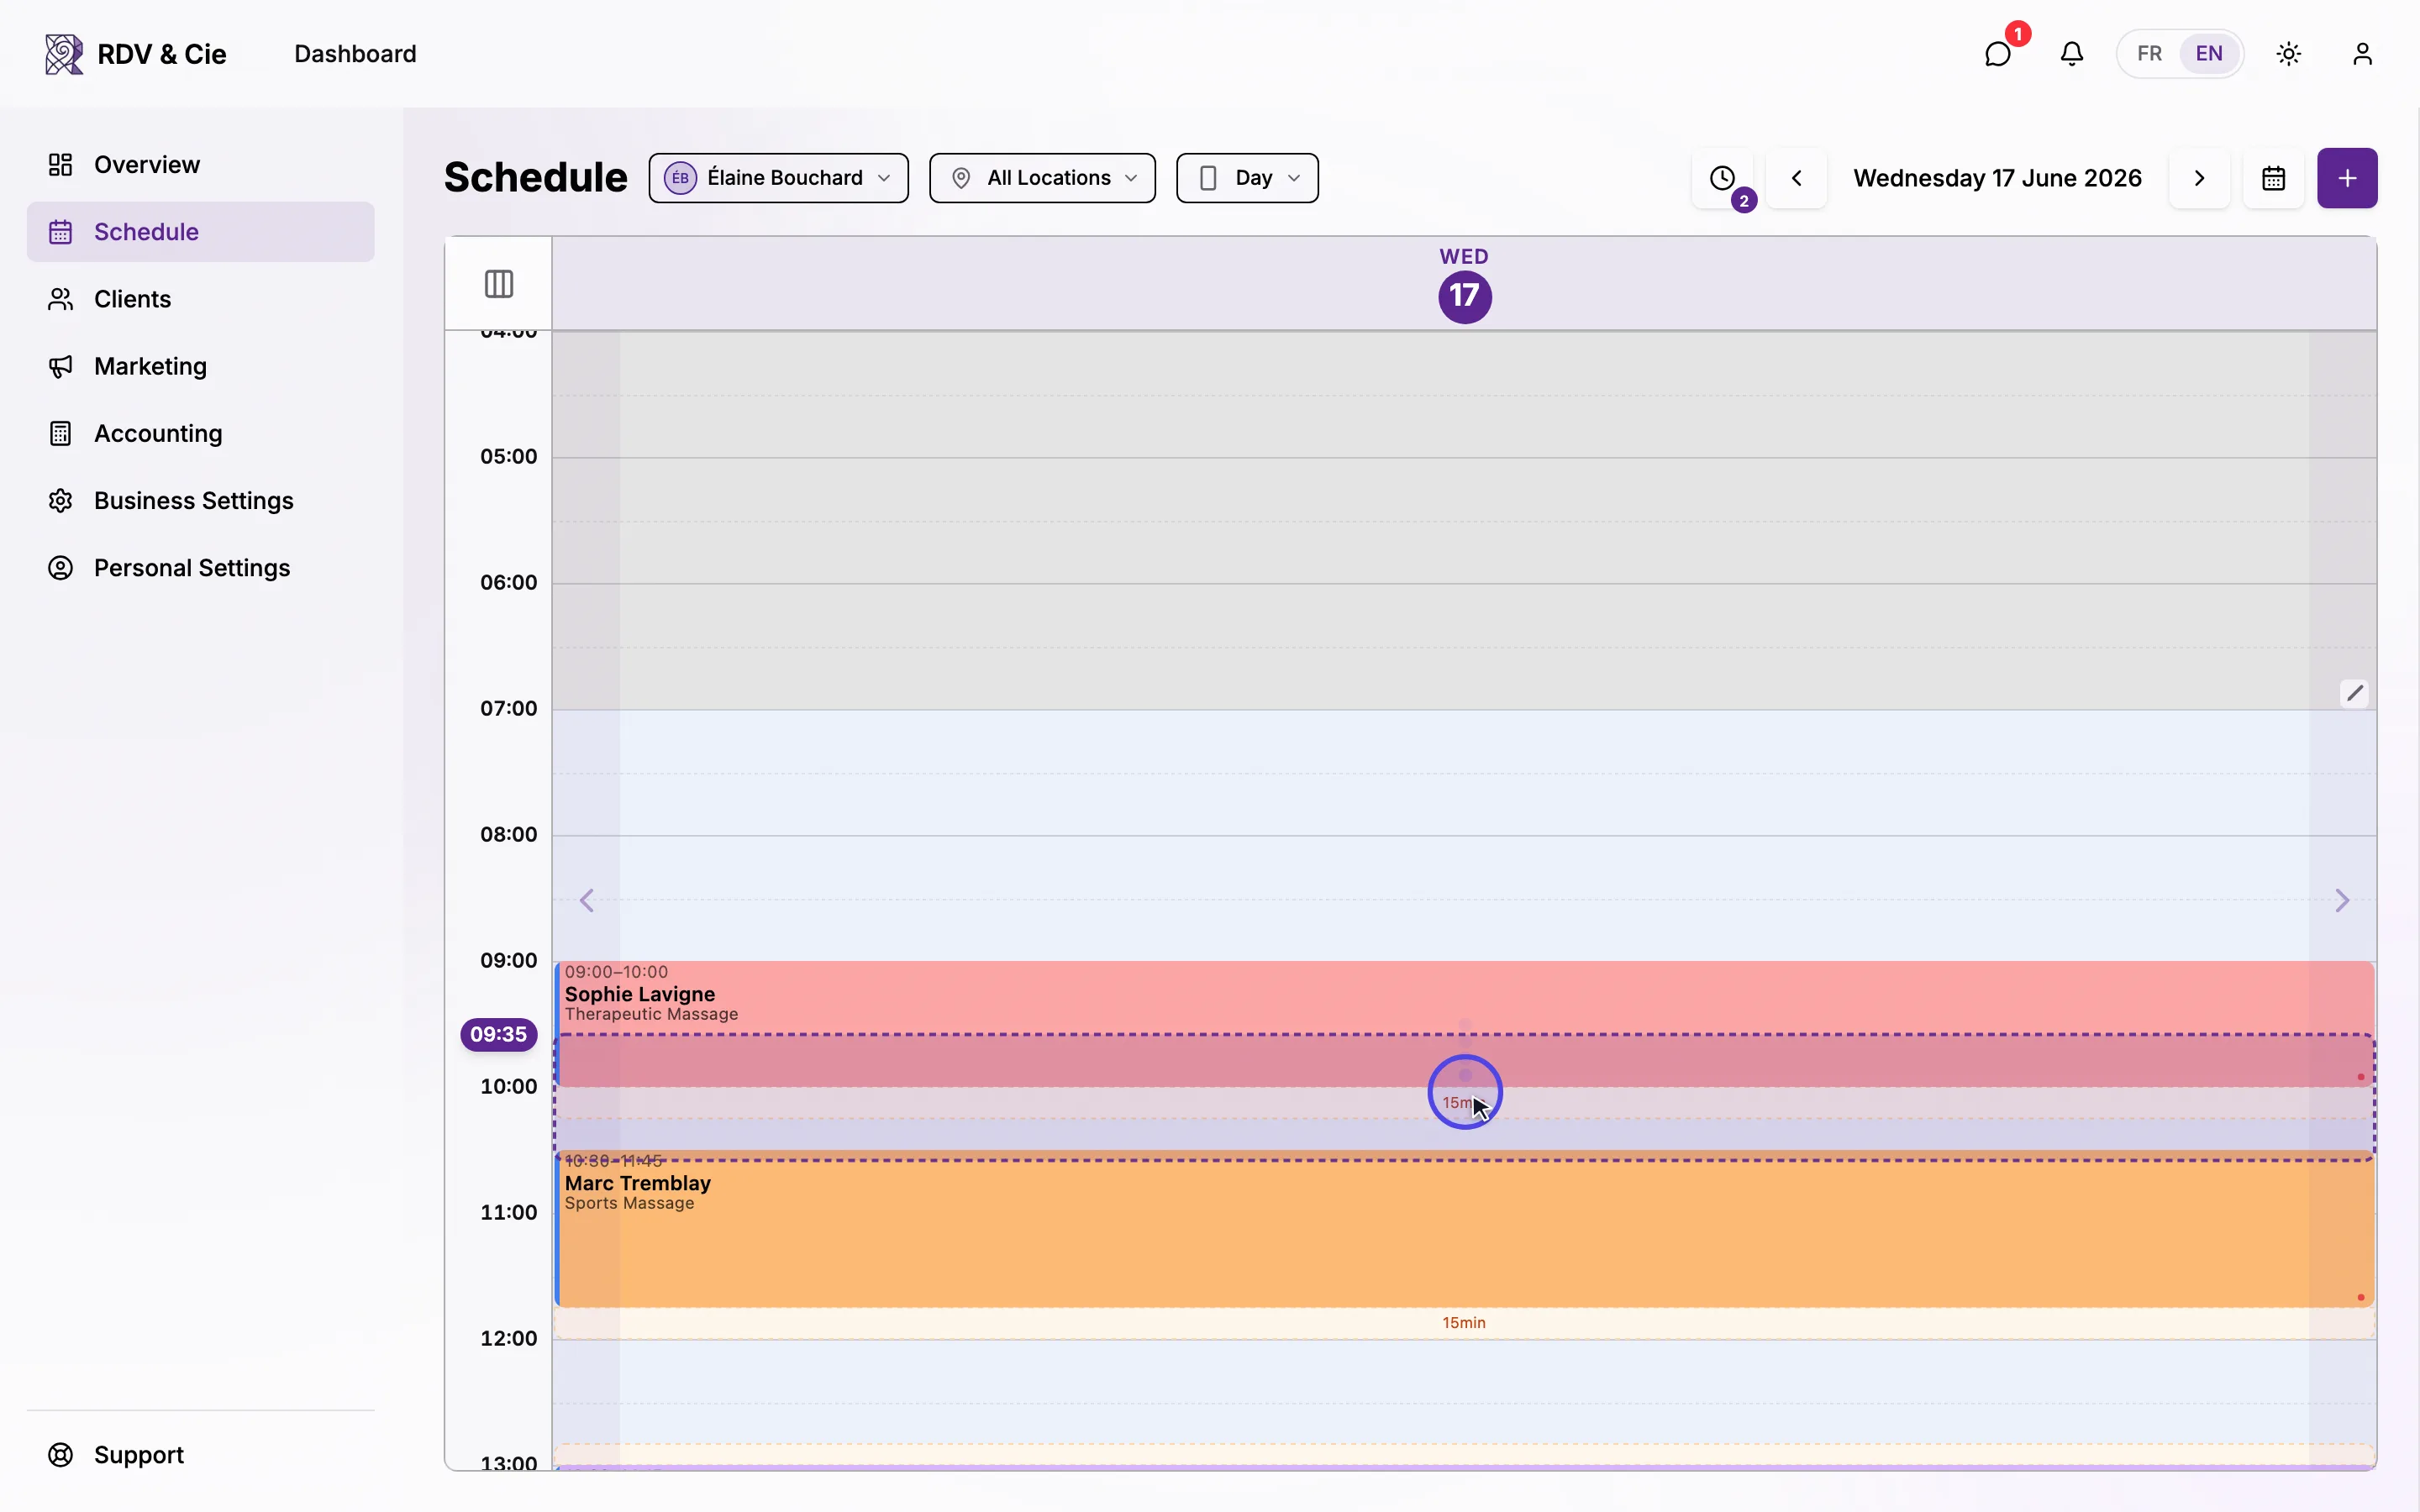
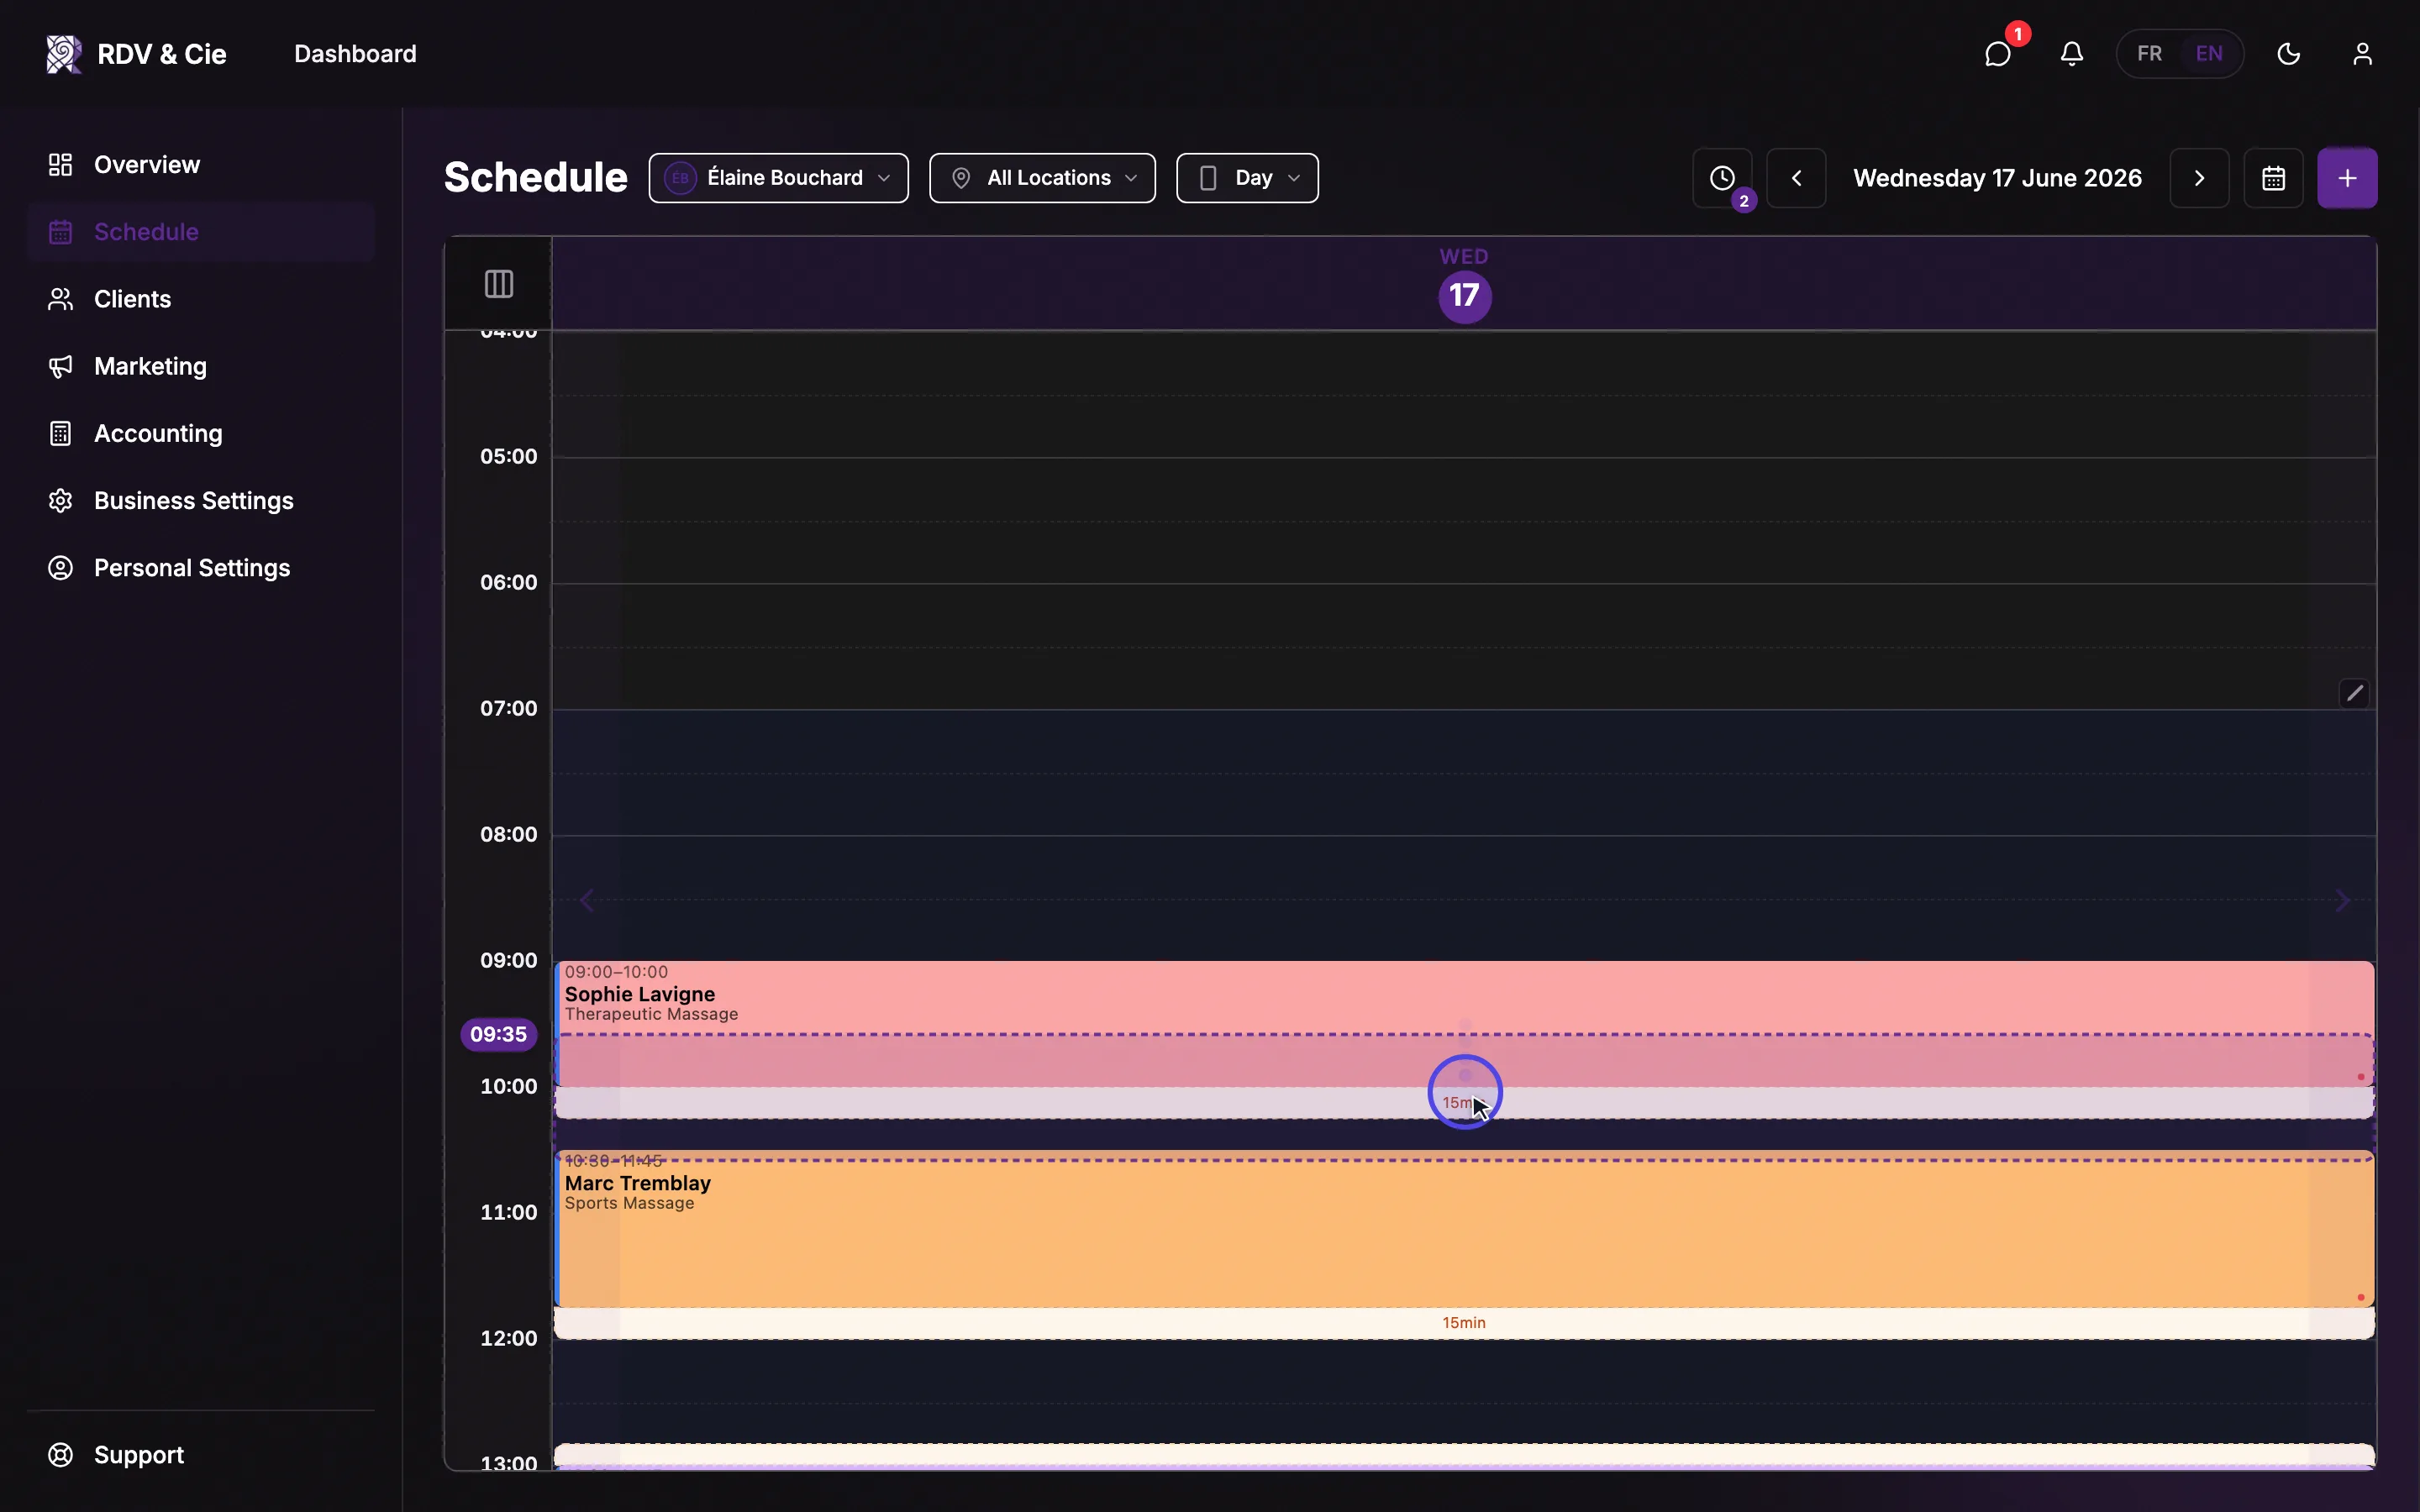
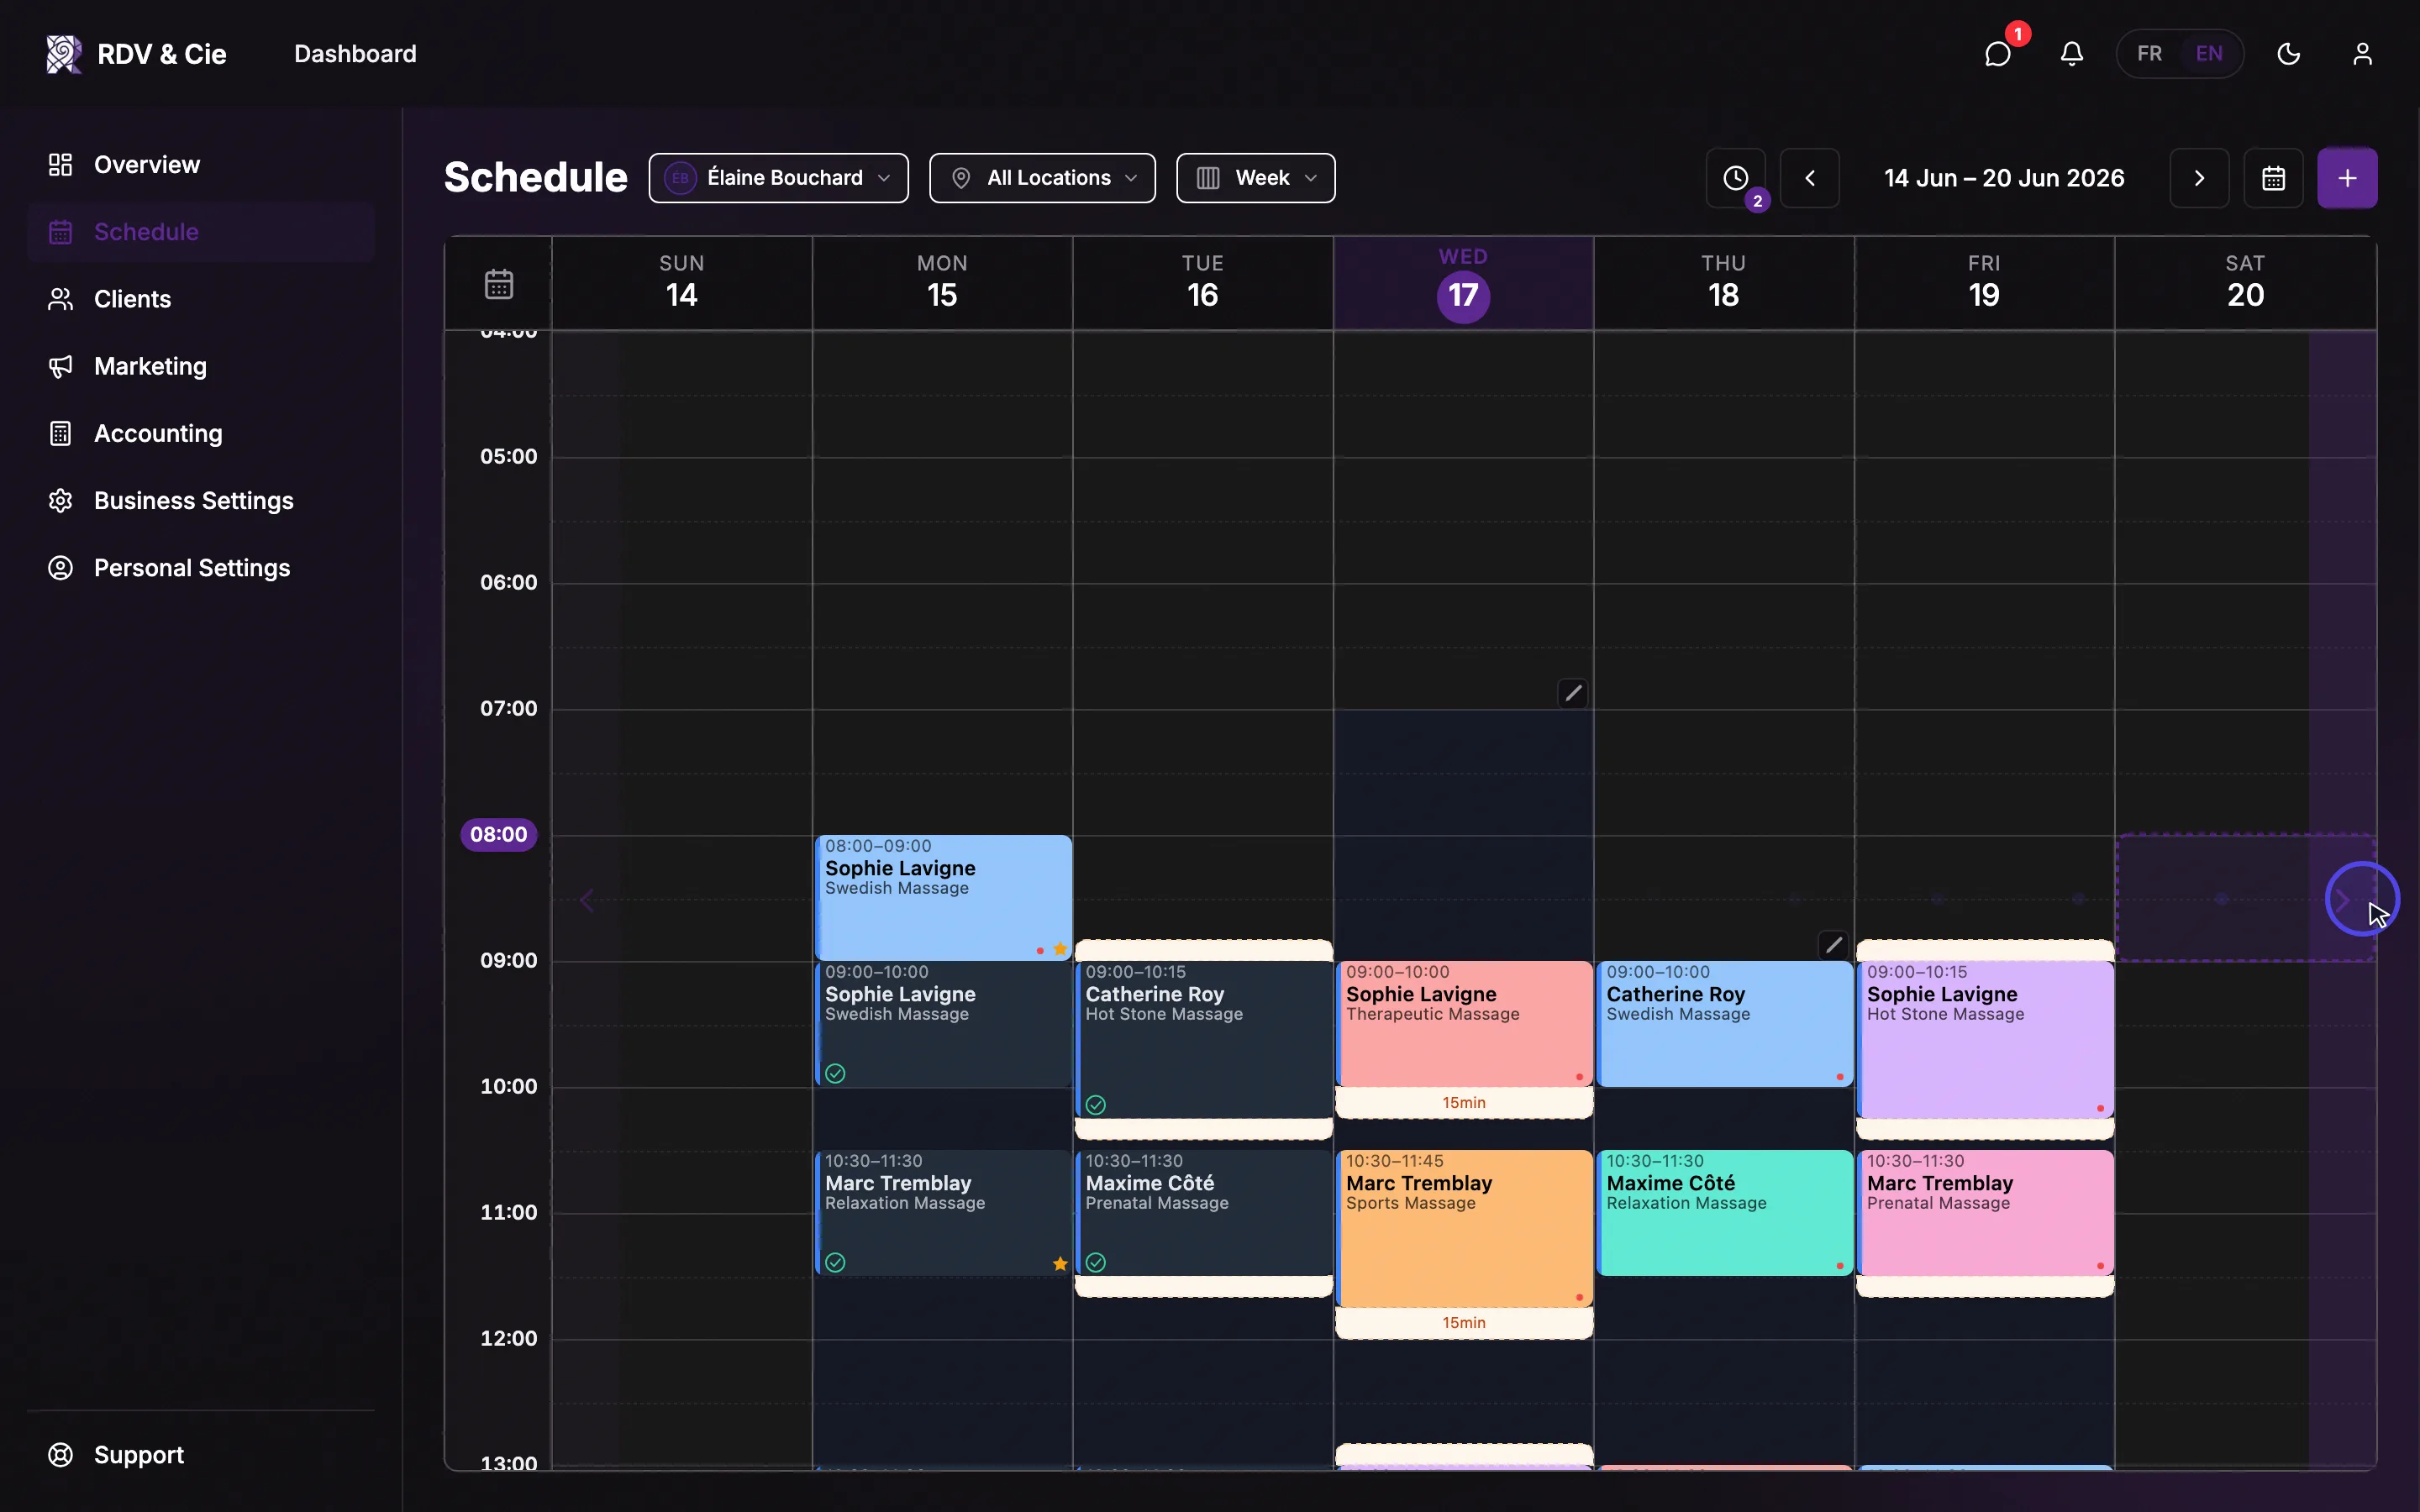
To move a booking to another week, switch to week view, drag it to the right (or left) edge of the grid and hold — the schedule flips to the next week, where you drop it and confirm.
What's next
- Complete a booking — the payment, tip, receipt and no-show flow behind the Pay and Missed Appointment buttons.
- Create a booking — add a booking by hand.
- Block off time — hold a slot so no one can book it.