Create a booking
Add a client to your schedule by hand — every field in the Create Booking dialog explained.
Updated 2026-06-14
You can add a booking yourself at any time — for a phone or walk-in client, or to hold a service for someone who doesn't book online. This opens the Create Booking dialog.
Open the dialog
Start a booking
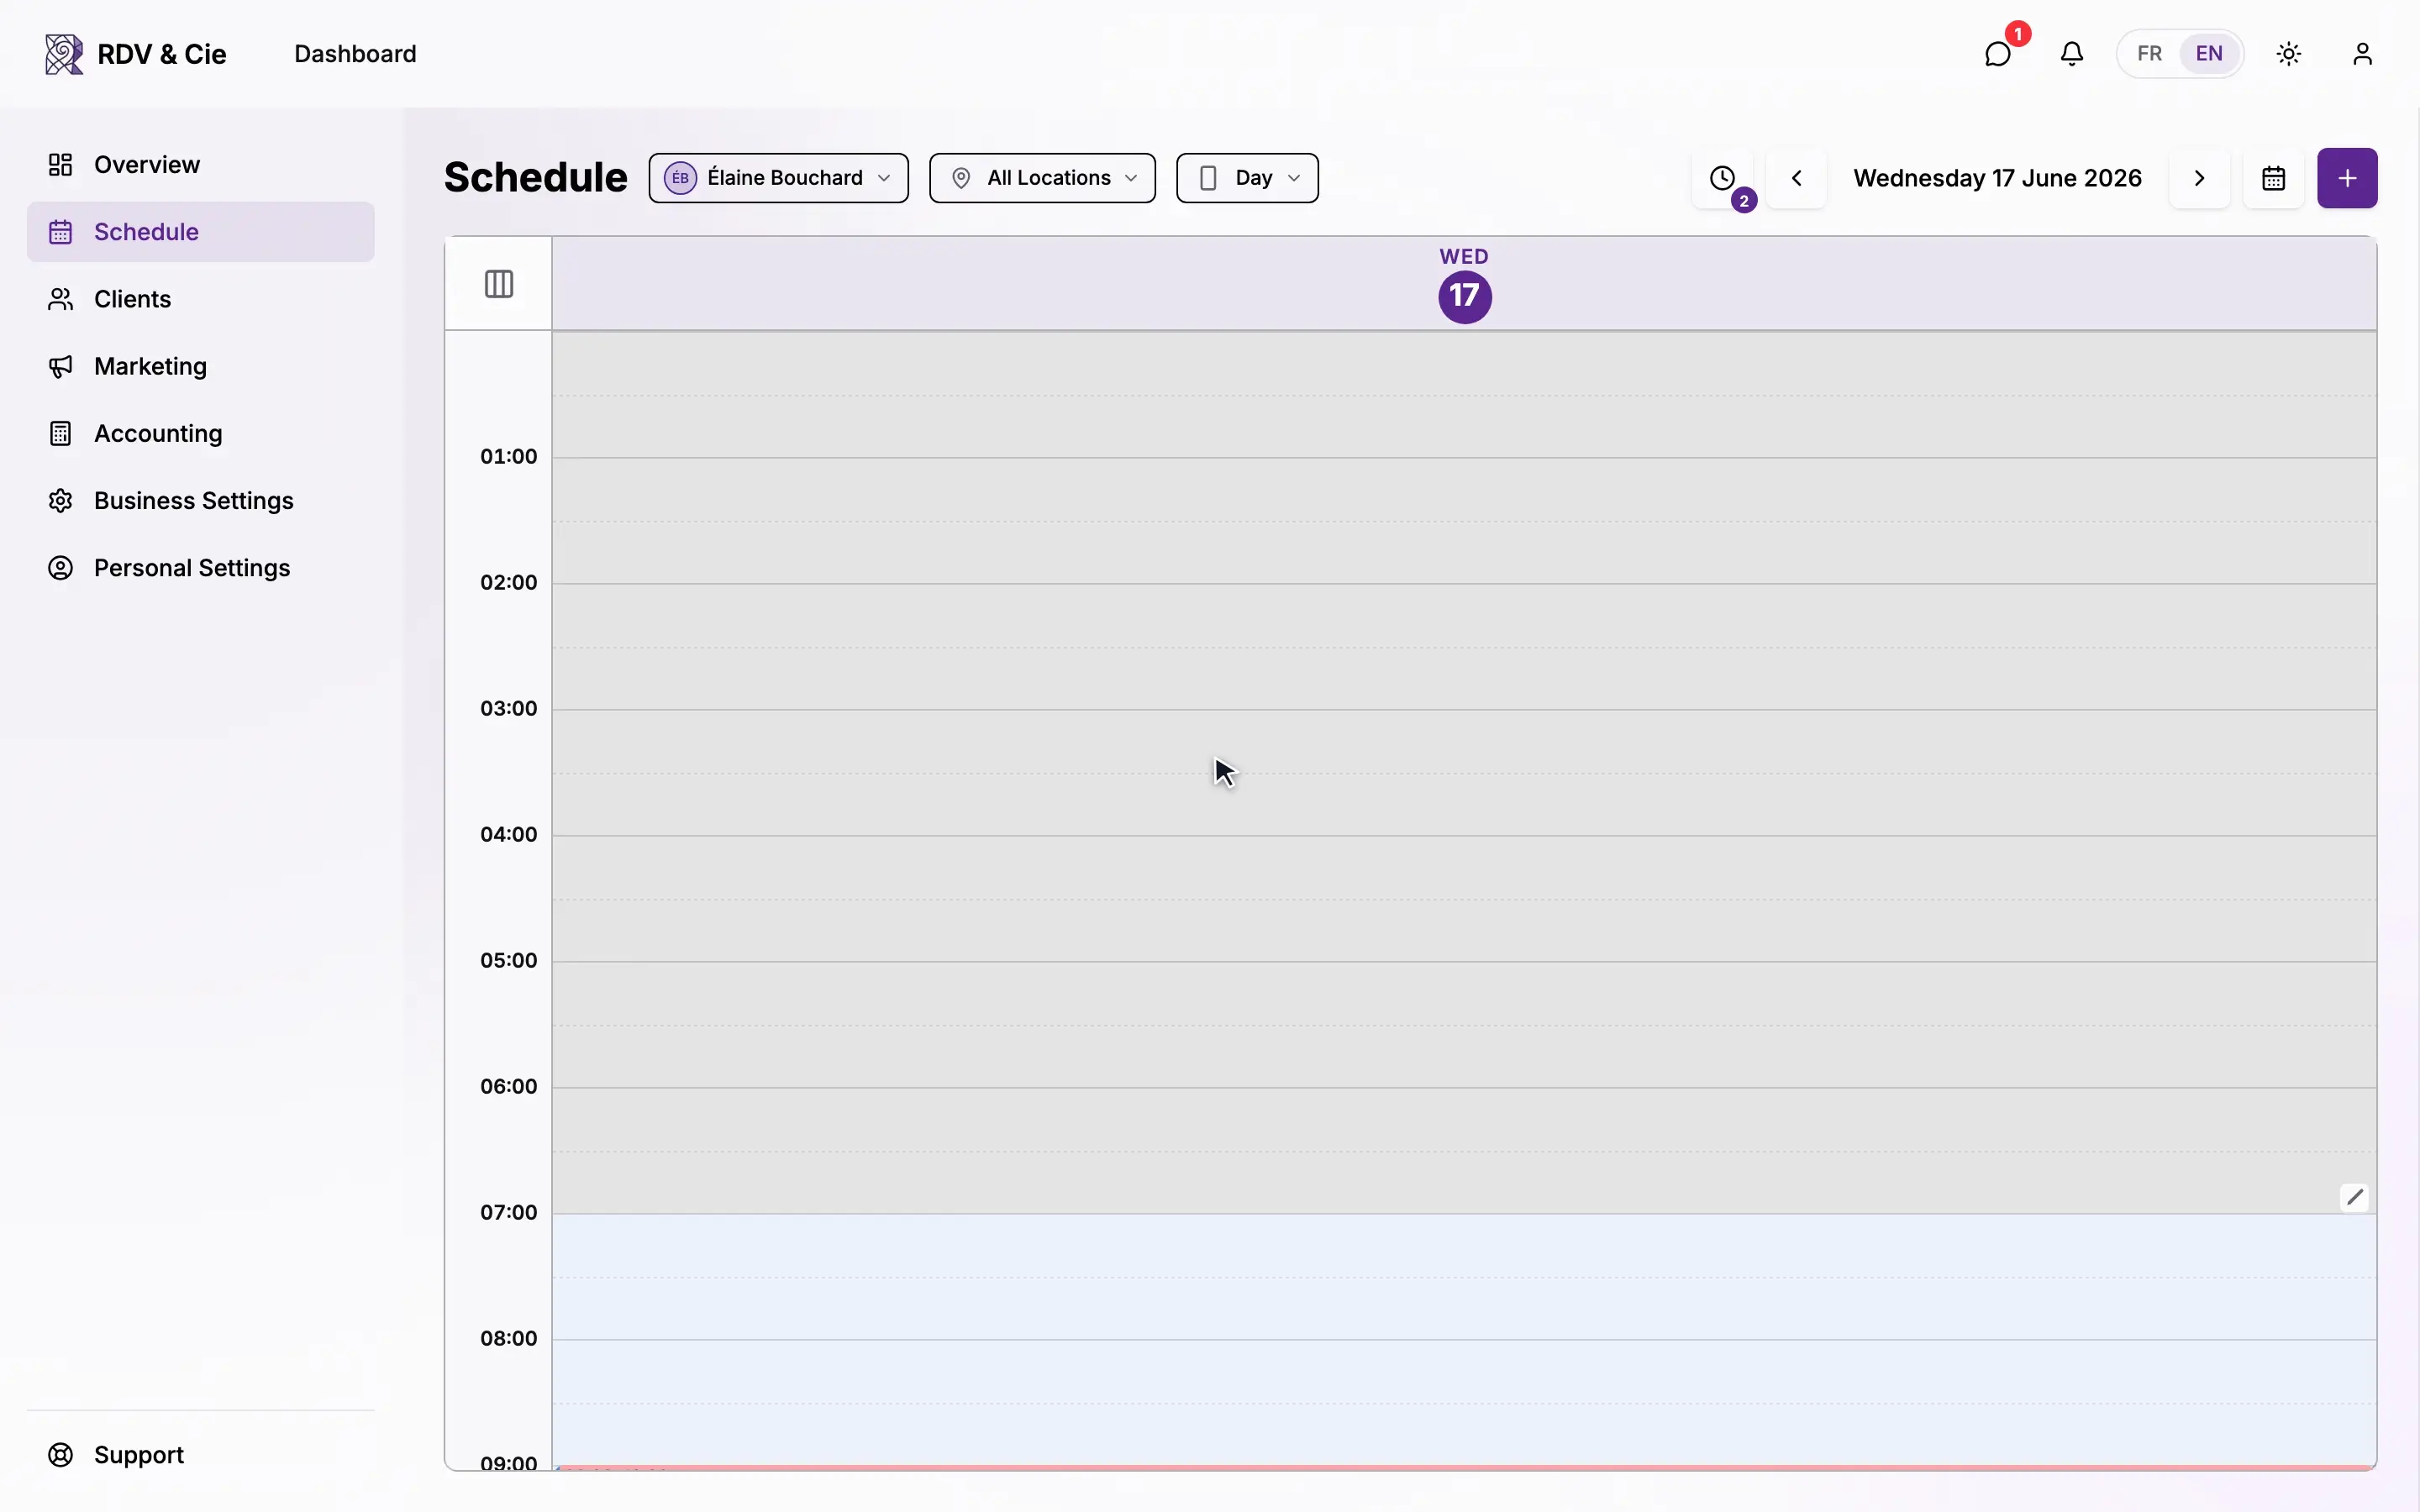
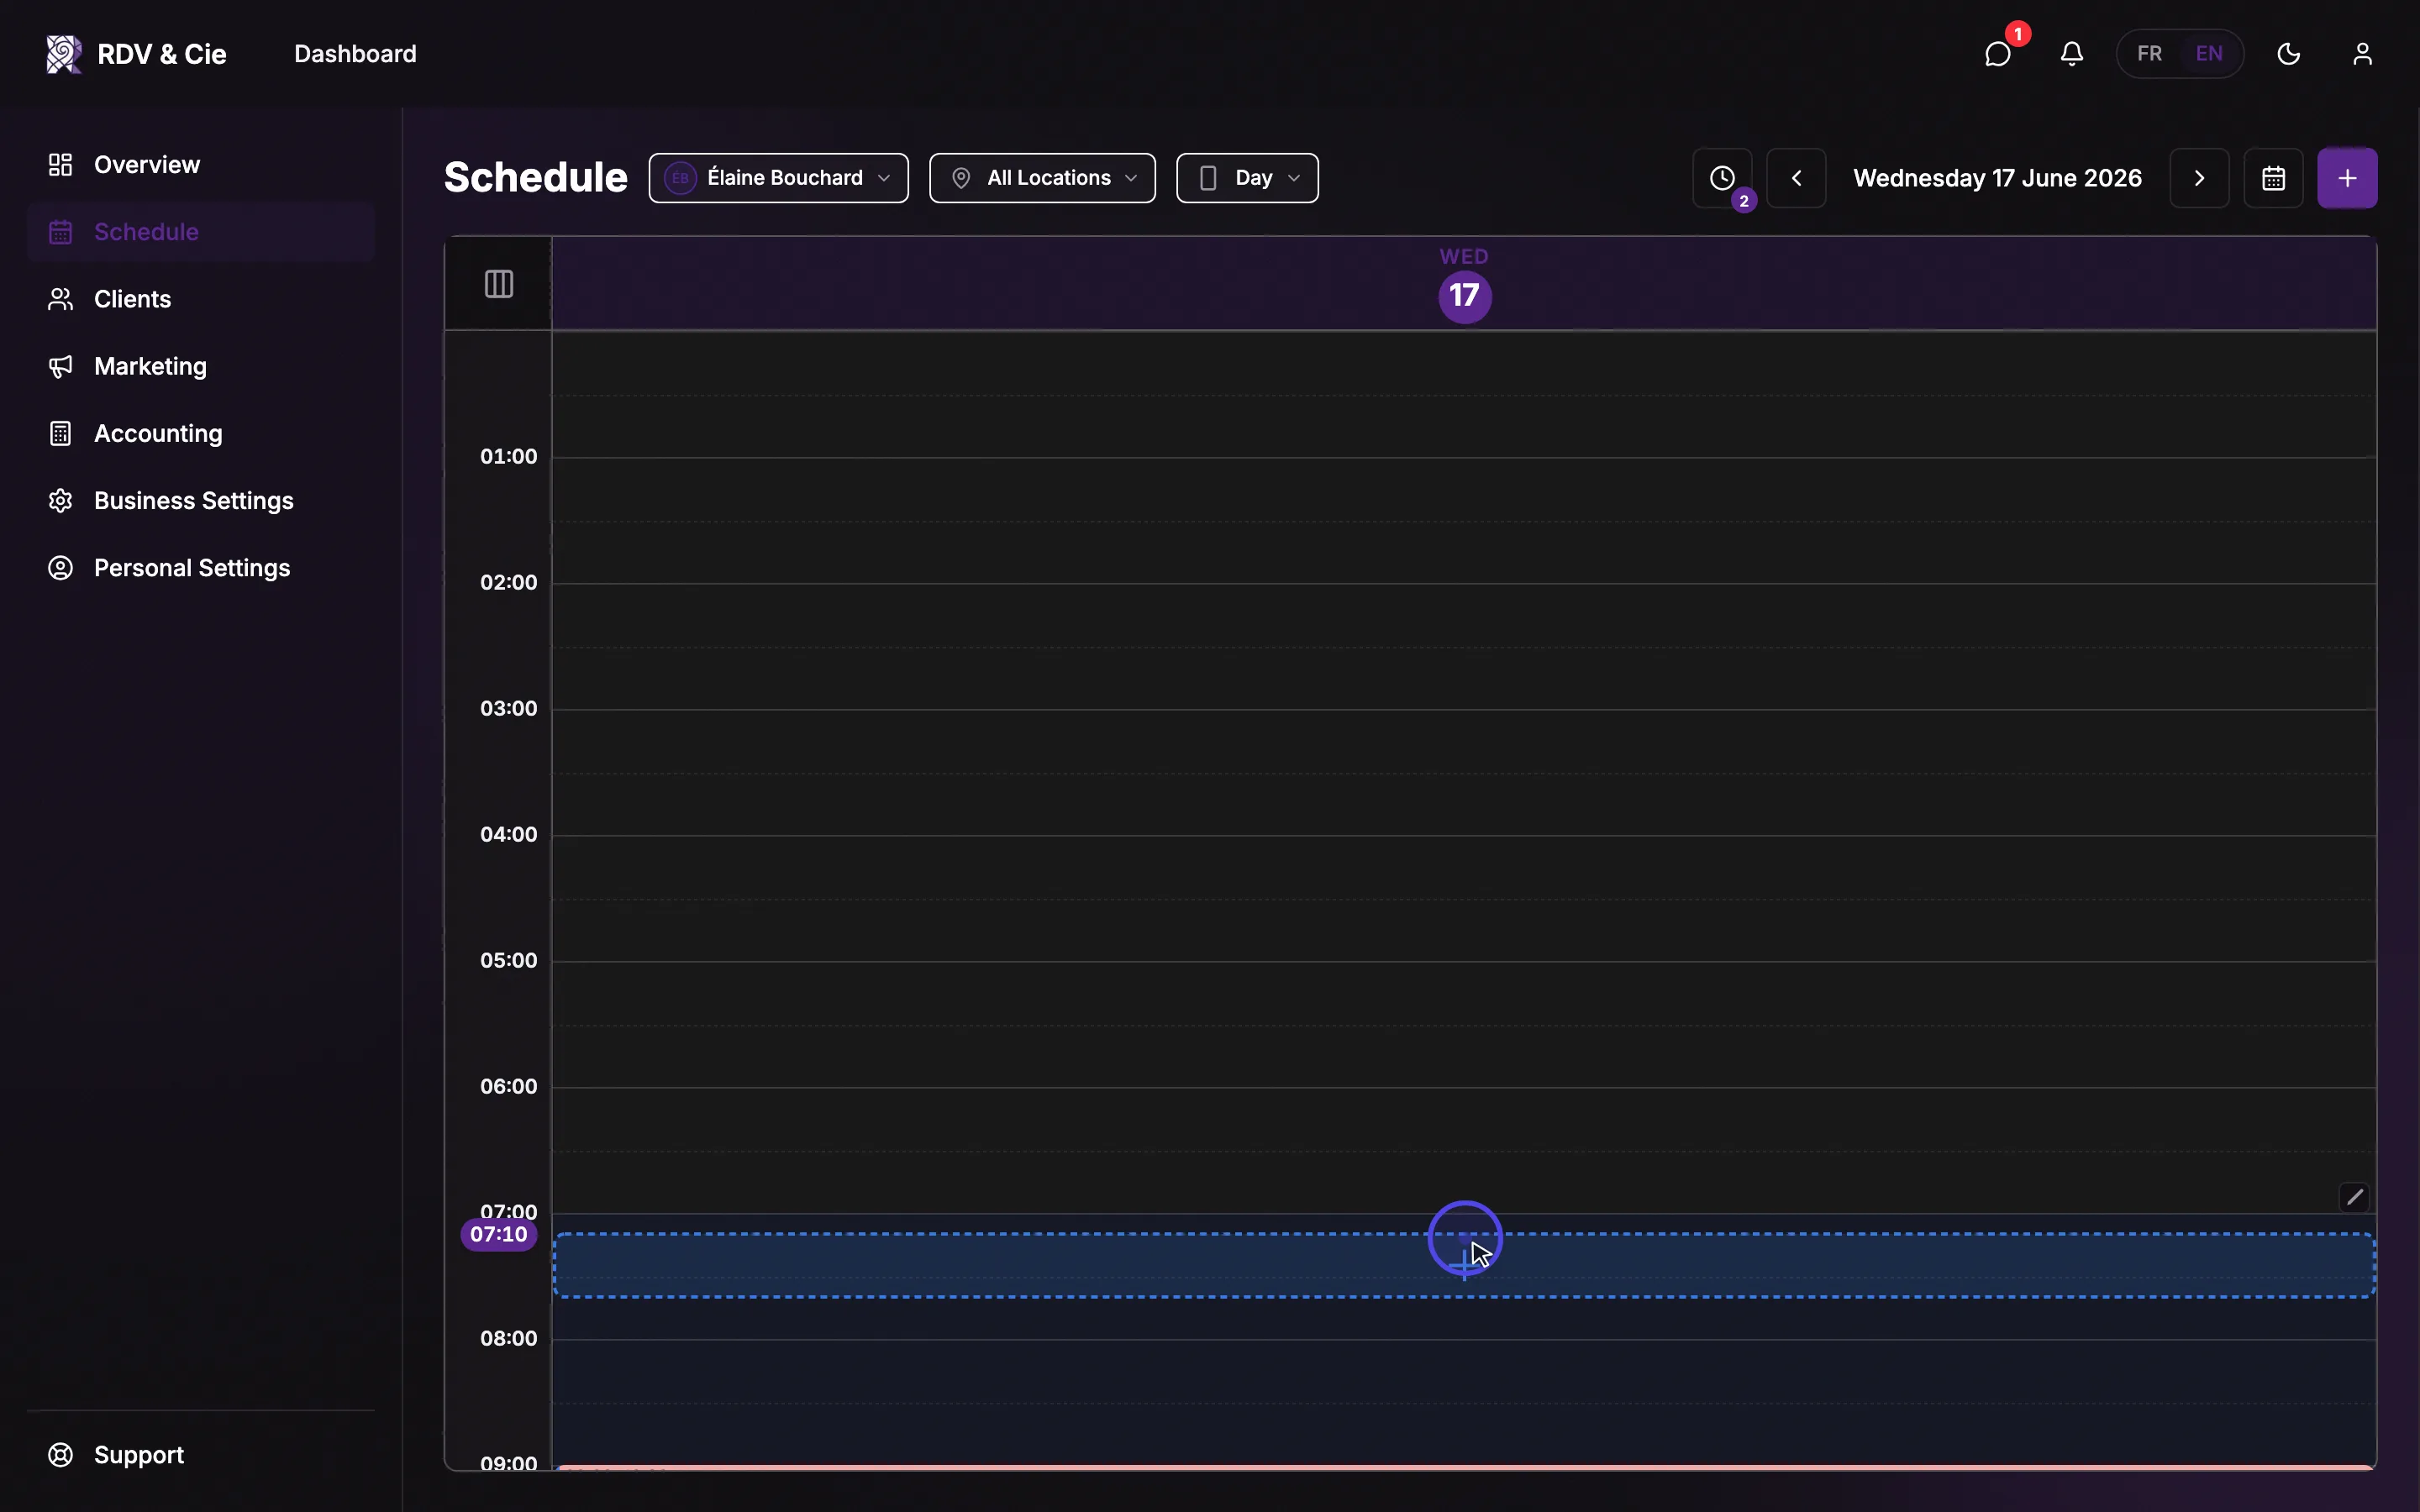
On a phone, tap the round + button (Add Booking). On a wider screen, click an open time slot on the grid — if you click outside your working hours you'll be asked to Choose an action first, then pick Add booking or blocked time.
The Create Booking tab
The dialog opens on the Create Booking tab. The second tab, Block Time Slot, is for blocking time off instead — see Block off time.

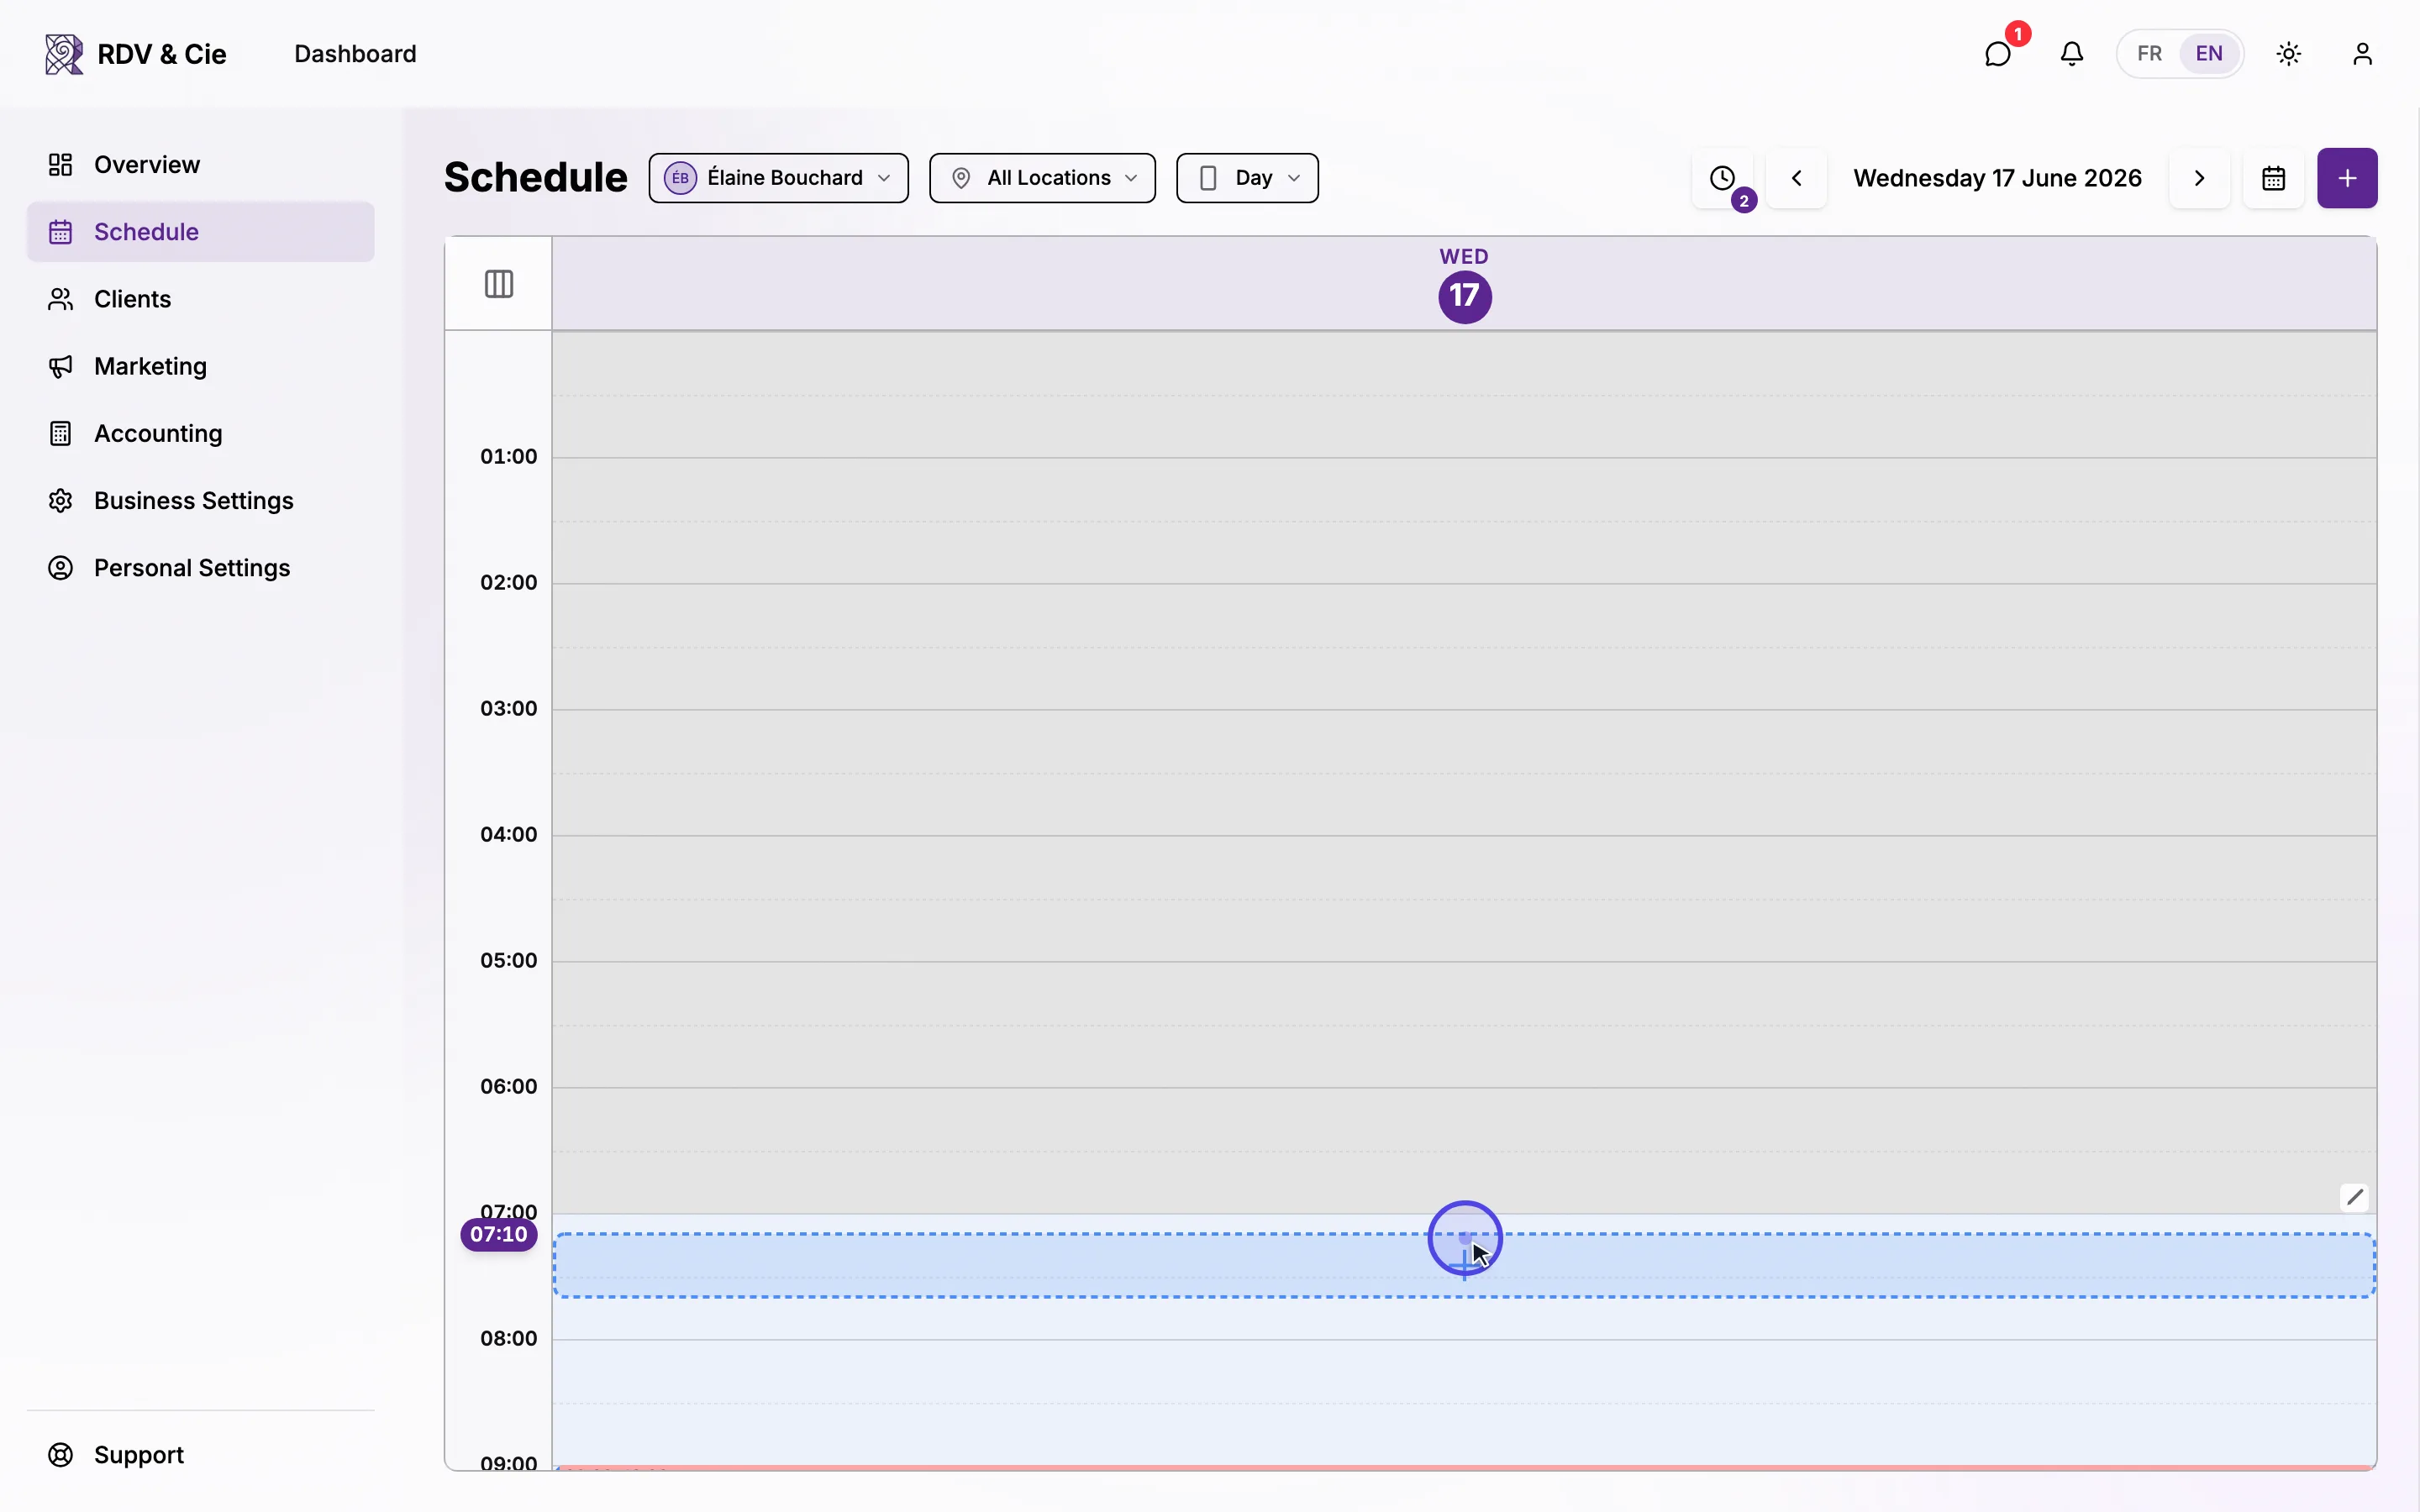
On the grid itself, you can press and hold an empty slot — a time indicator follows along so you can pick the exact time, then the Create Booking dialog opens pre-filled with it.
Every field
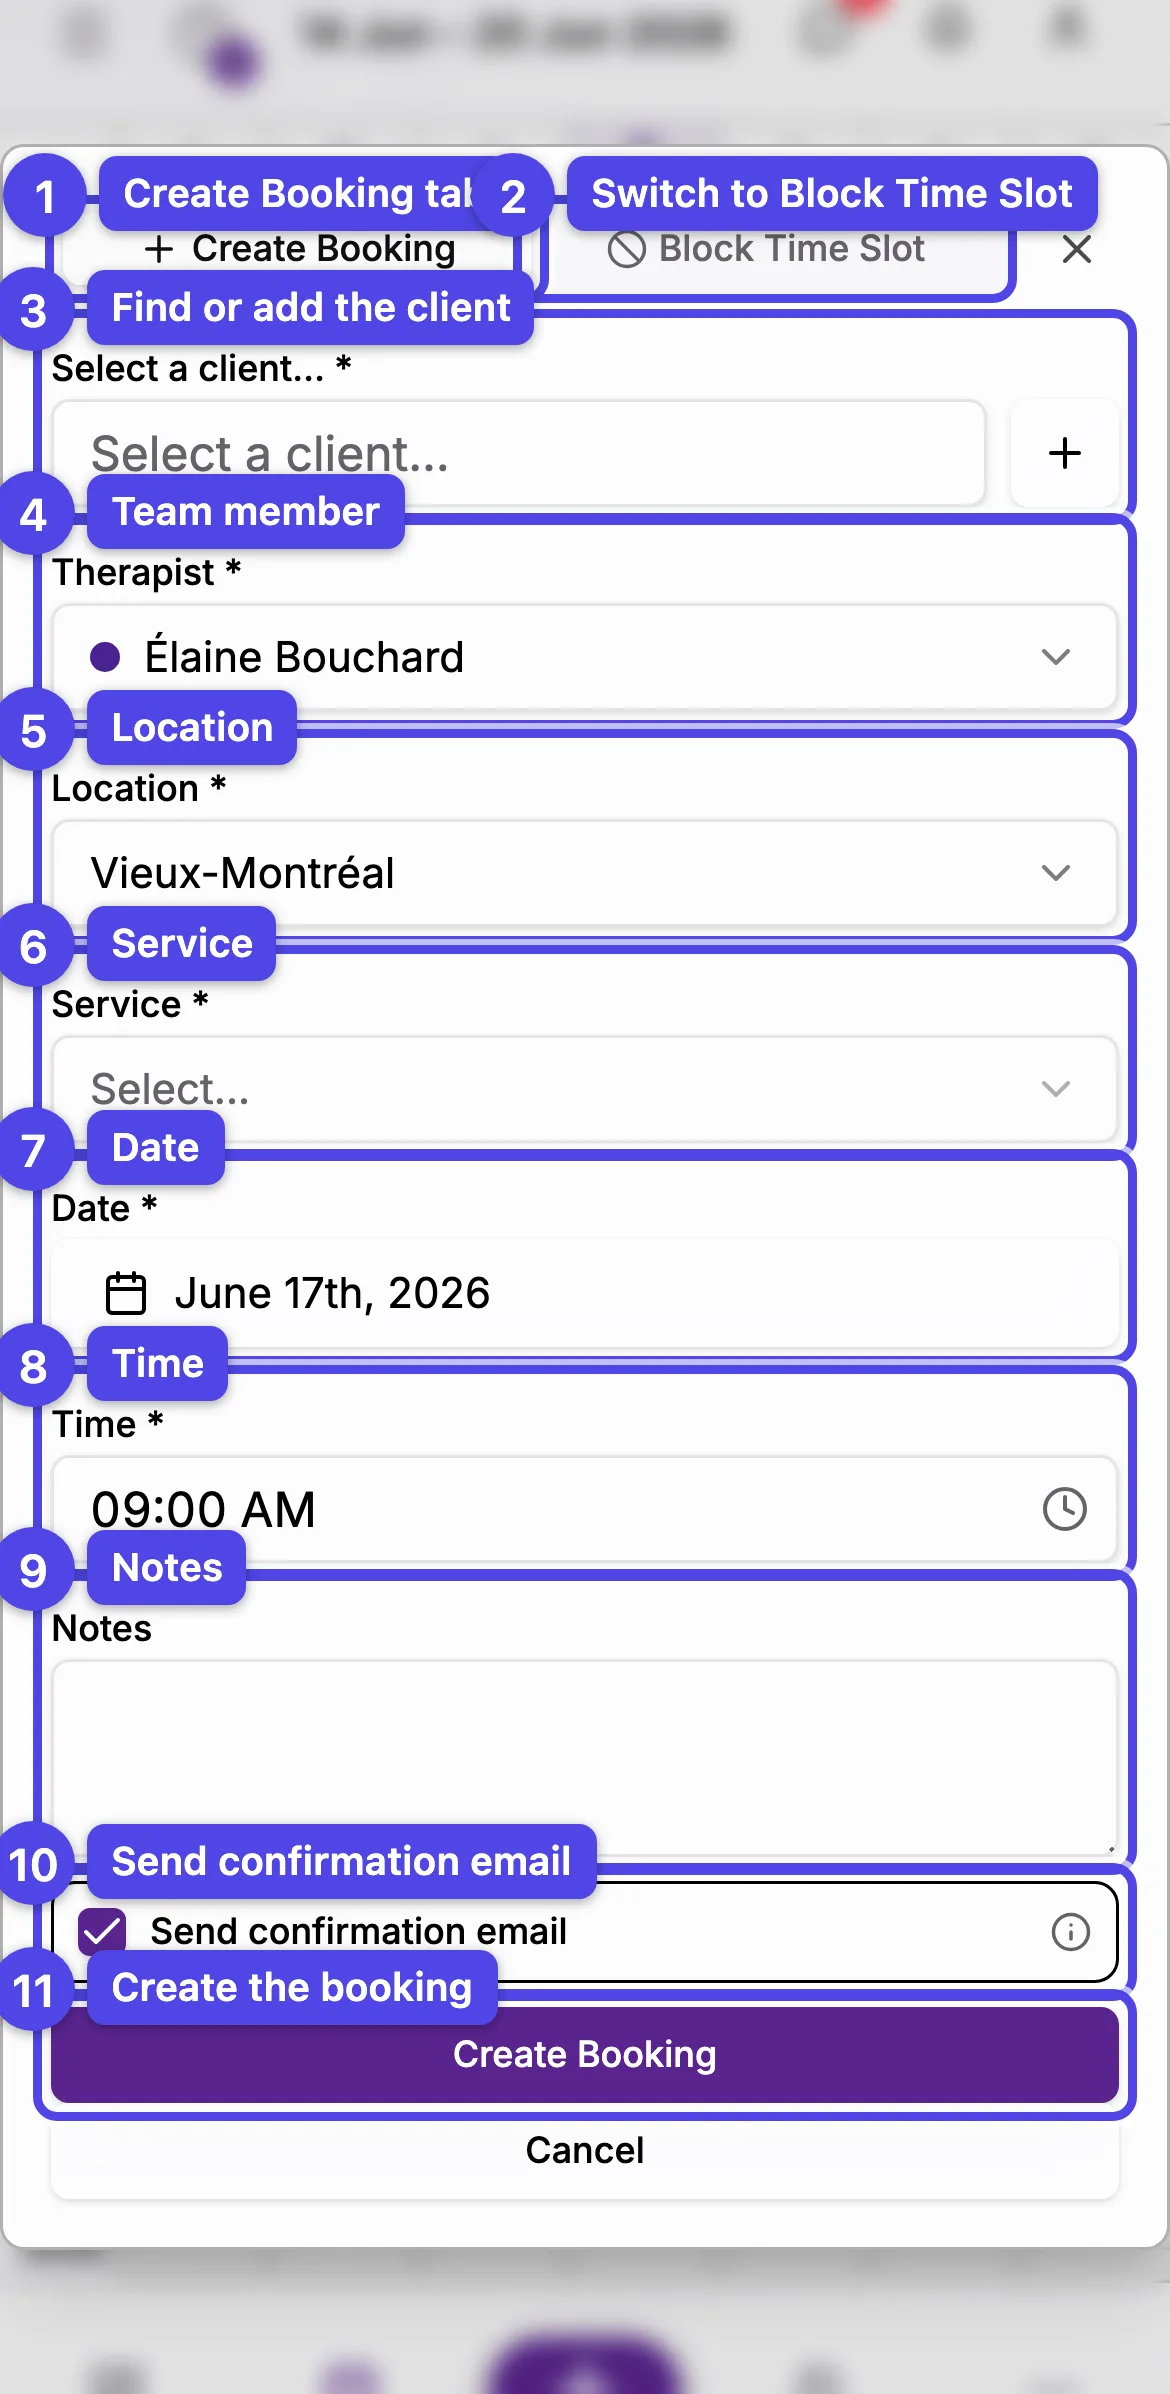
The numbers below match the screenshot.
- Create Booking tab — the booking form (shown here).
- Block Time Slot tab — switches to blocking time off instead.
- Select a client (required) — search an existing client by name or email, or use the create button in the list to add a new client inline (name and email required). If the client has a card on file, it appears under the field.
- Therapist (required) — who delivers the service. Shown only when your business has more than one team member. Changing it re-filters the location and service lists.
- Location (required) — where the appointment happens. Locations without working hours at the chosen date and time are pushed to the bottom and greyed out. Pick 🏠 At home to enter a client address. If only one location has hours at that time, it's selected for you.
- Service (required) — the service to book. The list is grouped and shows each service's duration; a ★ marks new-client-only services and inactive services are flagged. The price, duration, and buffer come from the service.
- Date (required).
- Time (required).
- Notes — internal notes for this booking (optional).
- Send confirmation email — on by default. Uncheck to create the booking silently, without emailing the client.
- Create Booking — saves the booking.
Two fields appear only in context and aren't numbered above: a price summary (subtotal, taxes, total, and a promo-code field) shows once you choose a service, and Address / City / Province / Postal Code fields appear when you pick an at-home location.
After you pick a service
Once a service is selected, a price summary appears with the subtotal, any taxes, and the total. To apply a discount, type a code into the promo field and select Apply; remove it with Remove. If the location and time have no working hours, an orange notice appears — you can still book, but double-check the time.
If the time overlaps an existing booking or blocked time, you'll be asked to confirm before the booking is created. Check the team member and time so you don't double-book.
After booking
The client receives the confirmations you've set up (email and/or SMS) unless you unchecked Send confirmation email. The booking appears on the schedule immediately.
What's next
- Manage a booking — reschedule, complete, cancel, or mark a no-show.
- Block off time — hold a slot so no one can book it.