Create a bill
Build a manual bill from scratch — every field of the bill editor explained.
Updated 2026-06-14
Most bills are created for you when a booking is completed, but you can also build one by hand — a package sale, a walk-in, or a no-show charge. The Create Bill button opens a full-page editor, not a dialog.
Open the editor
On the Bills tab of Accounting (the tab the page opens on), use the round + button — bottom-centre on mobile, top-right on desktop. It opens the Create Bill page.
The + button only appears if you can create bills. Employees need the "write bills" permission; the list and PDF download stay open to anyone with bills access.
Name and client
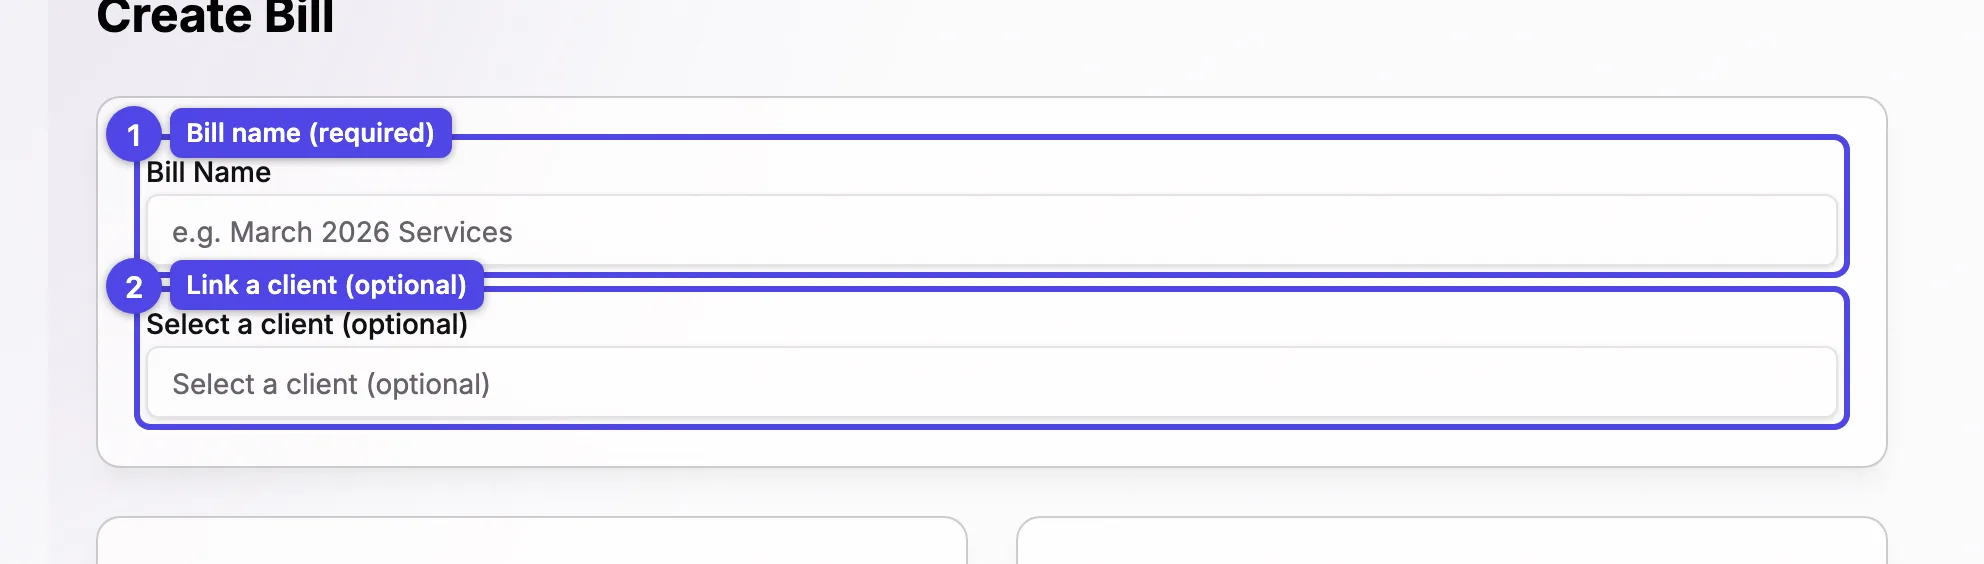
Bill Name
The bill's title — for example, "March 2026 Services". This is required.
Select a client (optional)
Search your clients and pick one to link the bill. Choosing a client auto-fills the Bill To card below with their address, phone, and email. You can leave it empty for a one-off recipient and type their details by hand.
Payee and Bill To
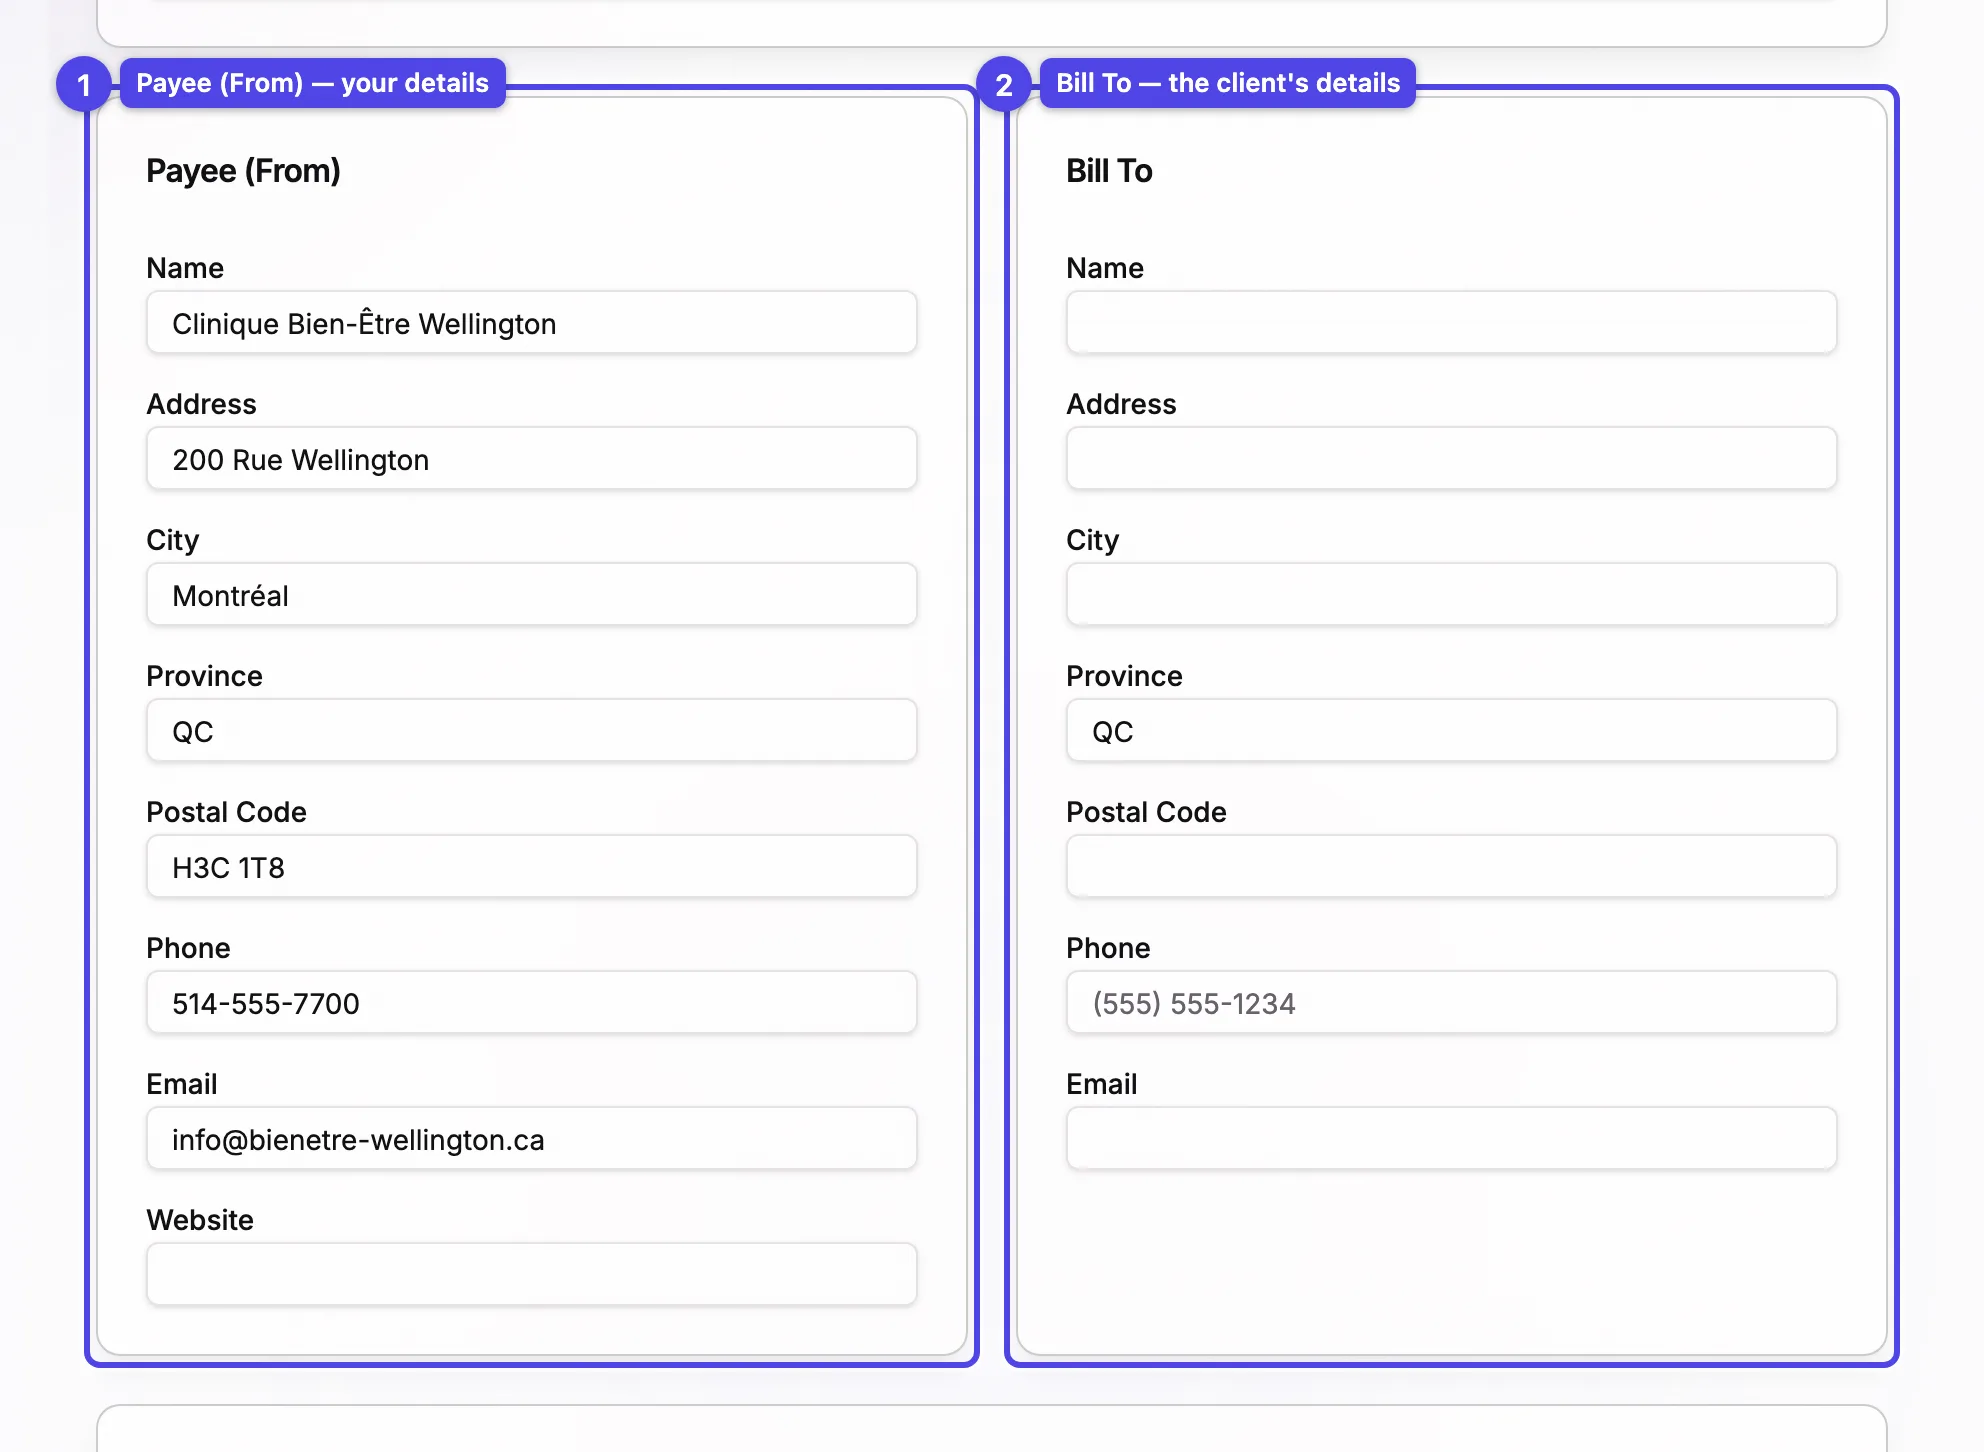
Payee (From)
Your business details — name, address, city, province, postal code, phone, email, and website. These are pre-filled from your billing profile, but you can override any of them for this bill.
Bill To
The recipient's details — name, address, city, province, postal code, phone, and email. Picking a client above fills this in; otherwise type it yourself.
Line items
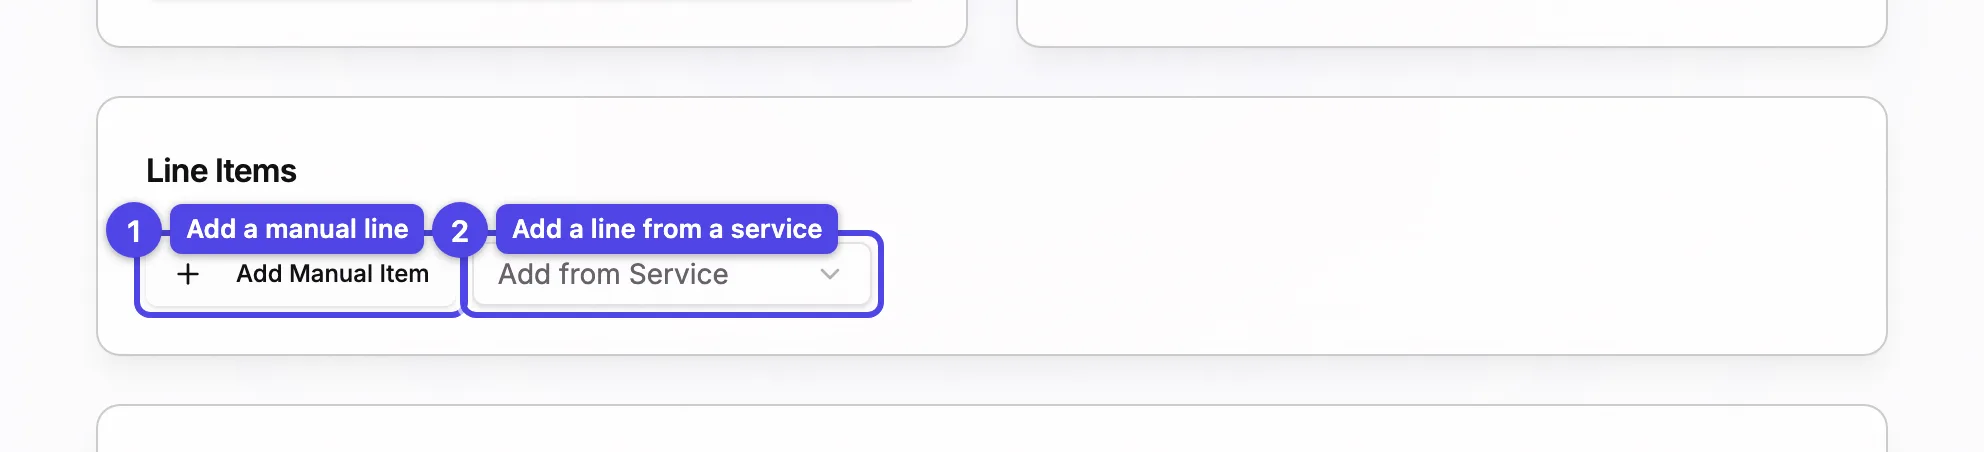
Build the bill out of lines. There are two ways to add one:
Add Manual Item
Adds a blank line you fill in yourself.
Add from Service
Pick one of your services (grouped by service group) and it's added as a line with its name, price, and taxable setting already filled. Inactive services are still selectable and marked (inactive).
Once you add a line, an editable row appears with these columns:
| Column | What it does |
|---|---|
| Description | The line text (required). |
| Date | An optional service date for the line. |
| Qty | Quantity — at least 1. |
| Unit Price | The price per unit, in dollars. |
| Taxable | Check to apply your taxes to this line. |
| Amount | Quantity × unit price, calculated for you. |
Use the trash icon at the end of a row to remove it.
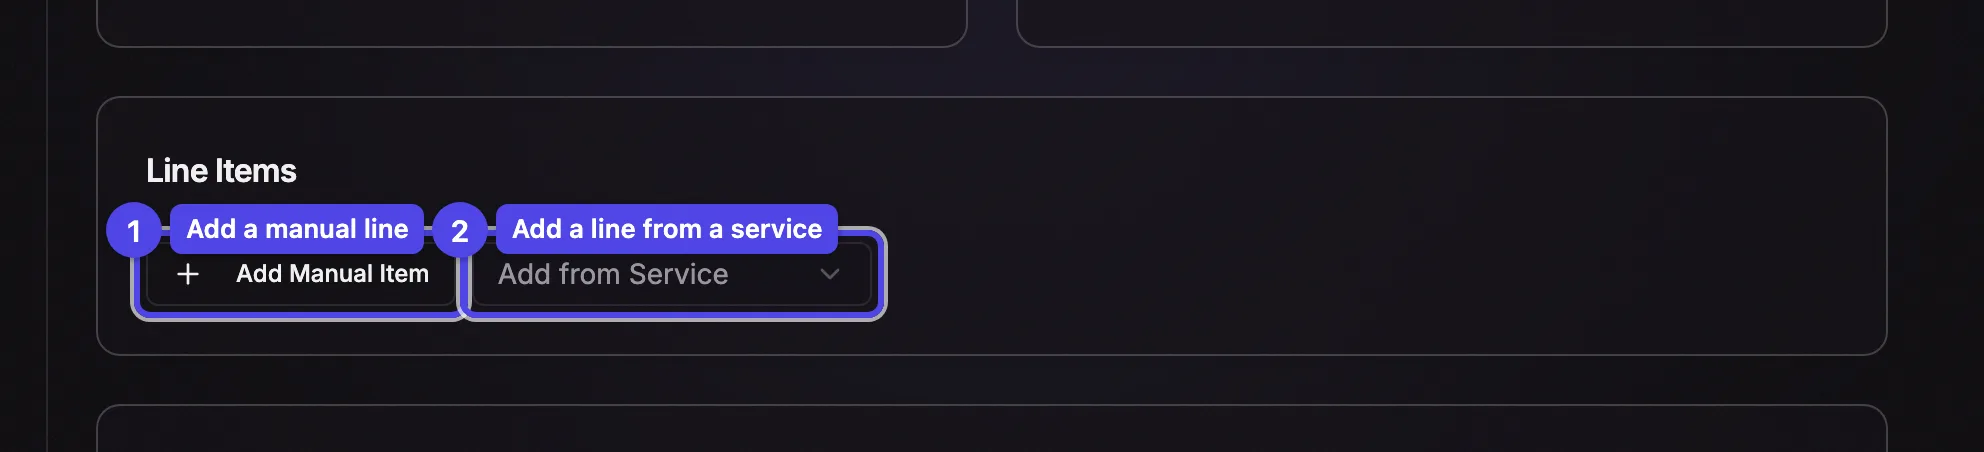
Totals, discount, and delivery fee

Live totals
The summary panel recomputes the Subtotal, Discount, each tax line, the Delivery Fee, and the Total as you edit the bill. Taxes apply only to the taxable lines, after the discount.
Discount
Enter a discount as a dollar amount or a percentage of the subtotal.
Discount Note
An optional note explaining the discount (e.g. "10% loyalty discount") — it appears on the bill.
Delivery Fee
An optional flat fee added after taxes.
Note, status, and metadata
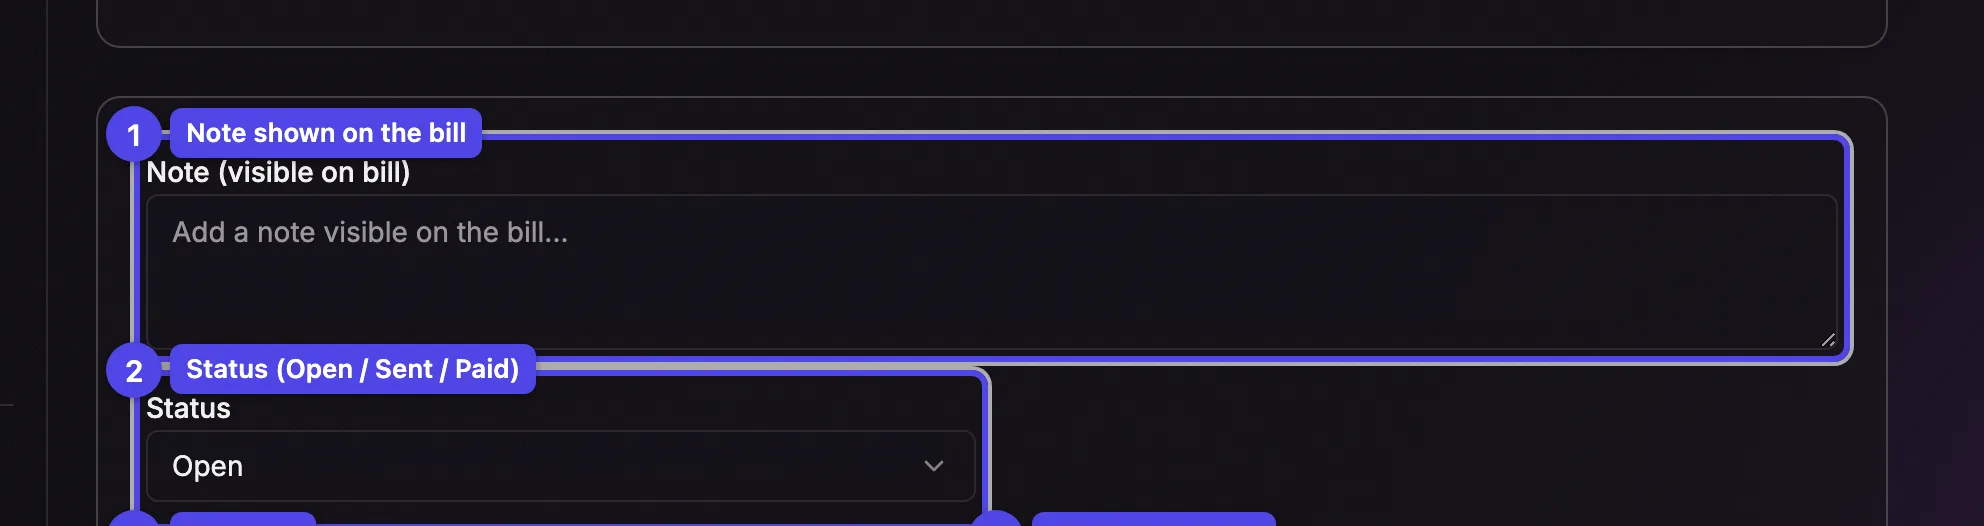
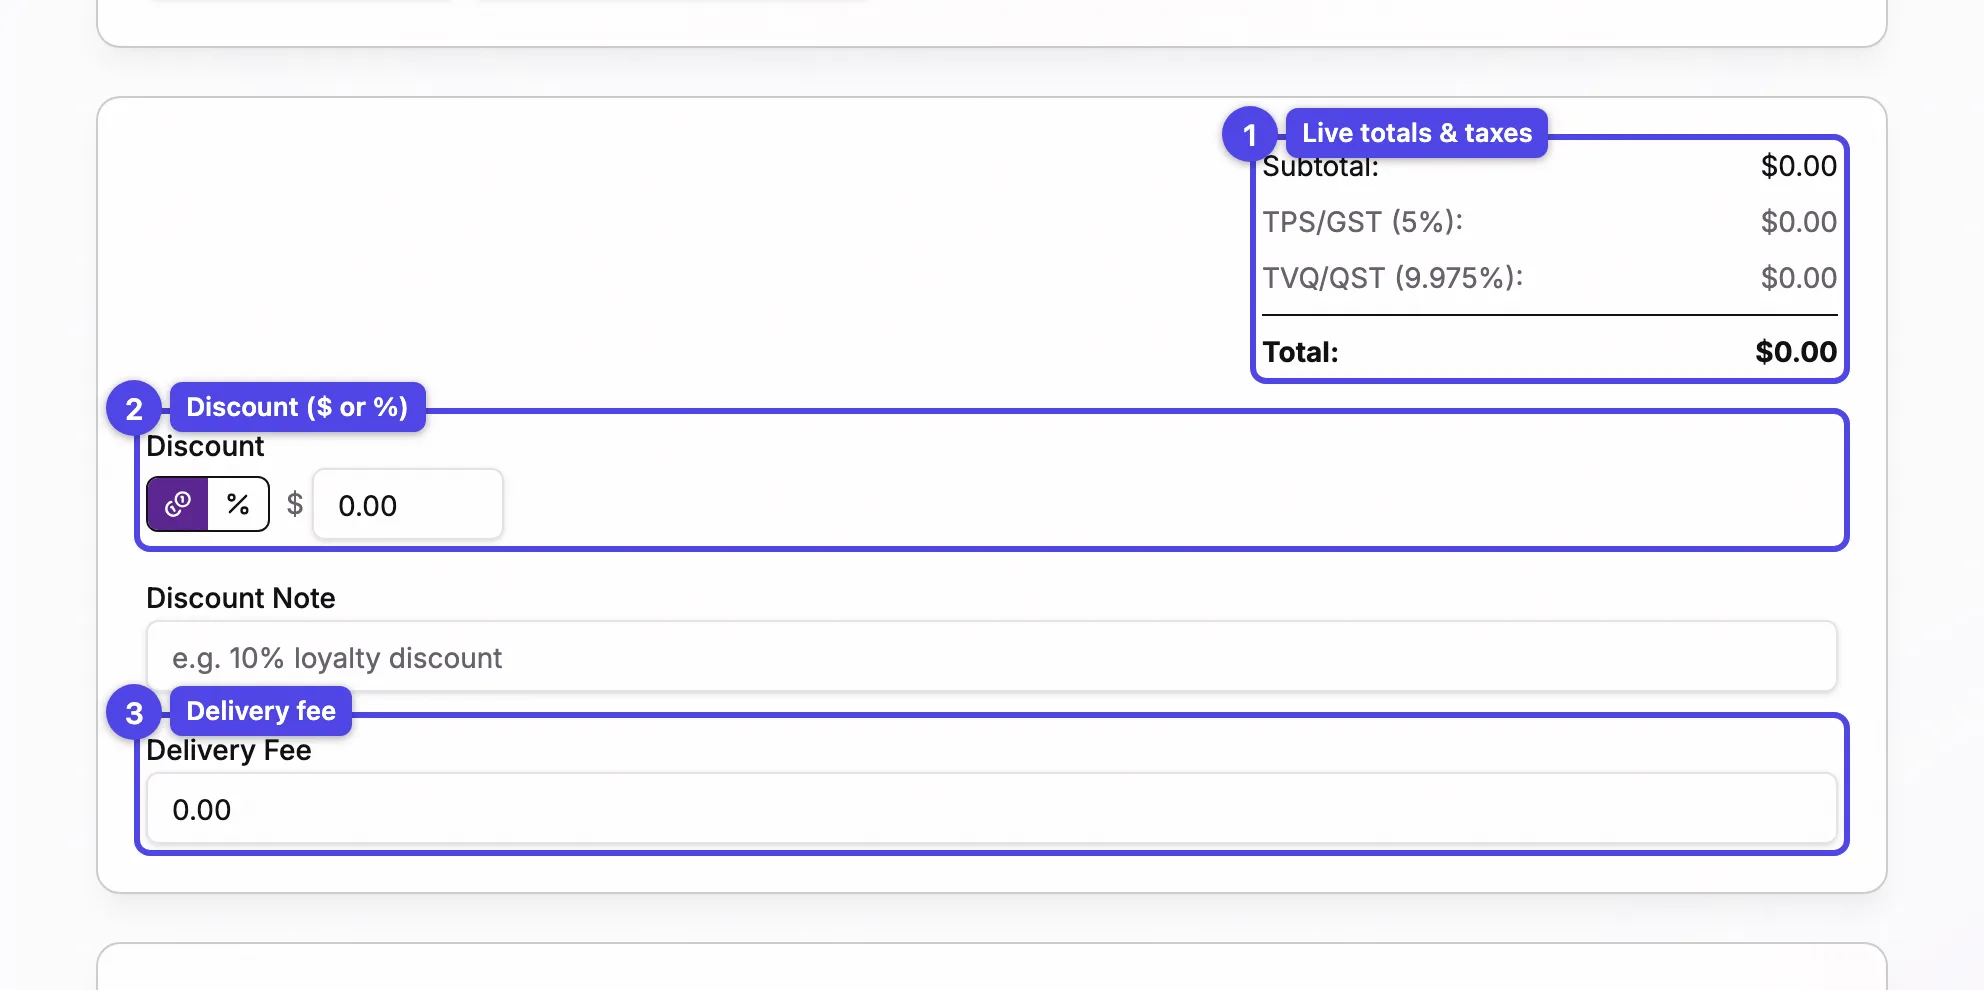
Note (visible on bill)
A note printed on the bill the client sees.
Status
Start the bill as Open, Sent, or Paid. Choosing Paid reveals a Payment Method picker so you can record how it was settled.
Due Date
An optional date the bill is due.
Reference / PO #
An optional reference or purchase-order number.
Internal Notes
A private memo that is not shown on the bill.
Save or preview


Save Bill
Saves the bill and returns you to the Bills tab.
Preview PDF
Opens the bill as a PDF in a new tab without saving — handy to proofread the layout before committing.
Cancel
Discards the bill and goes back.
Bill numbers are assigned in sequence when the bill is saved, so your invoice numbering never has gaps. Once a bill is Sent or Paid, its contents are locked — see Manage a bill.