Insurance receipts overview
Set up your receipt types, issue receipts to clients, and manage the receipts you've issued — download, email, or invalidate them.
Updated 2026-06-14
Insurance receipts let a client claim a massage with their insurer. Each receipt carries your professional association and member number and the details of the appointment. You set up your receipt types once, then issue a receipt per client.
Where receipts live
Open Personal settings, then the Insurance Receipts section. It has two sub-tabs:
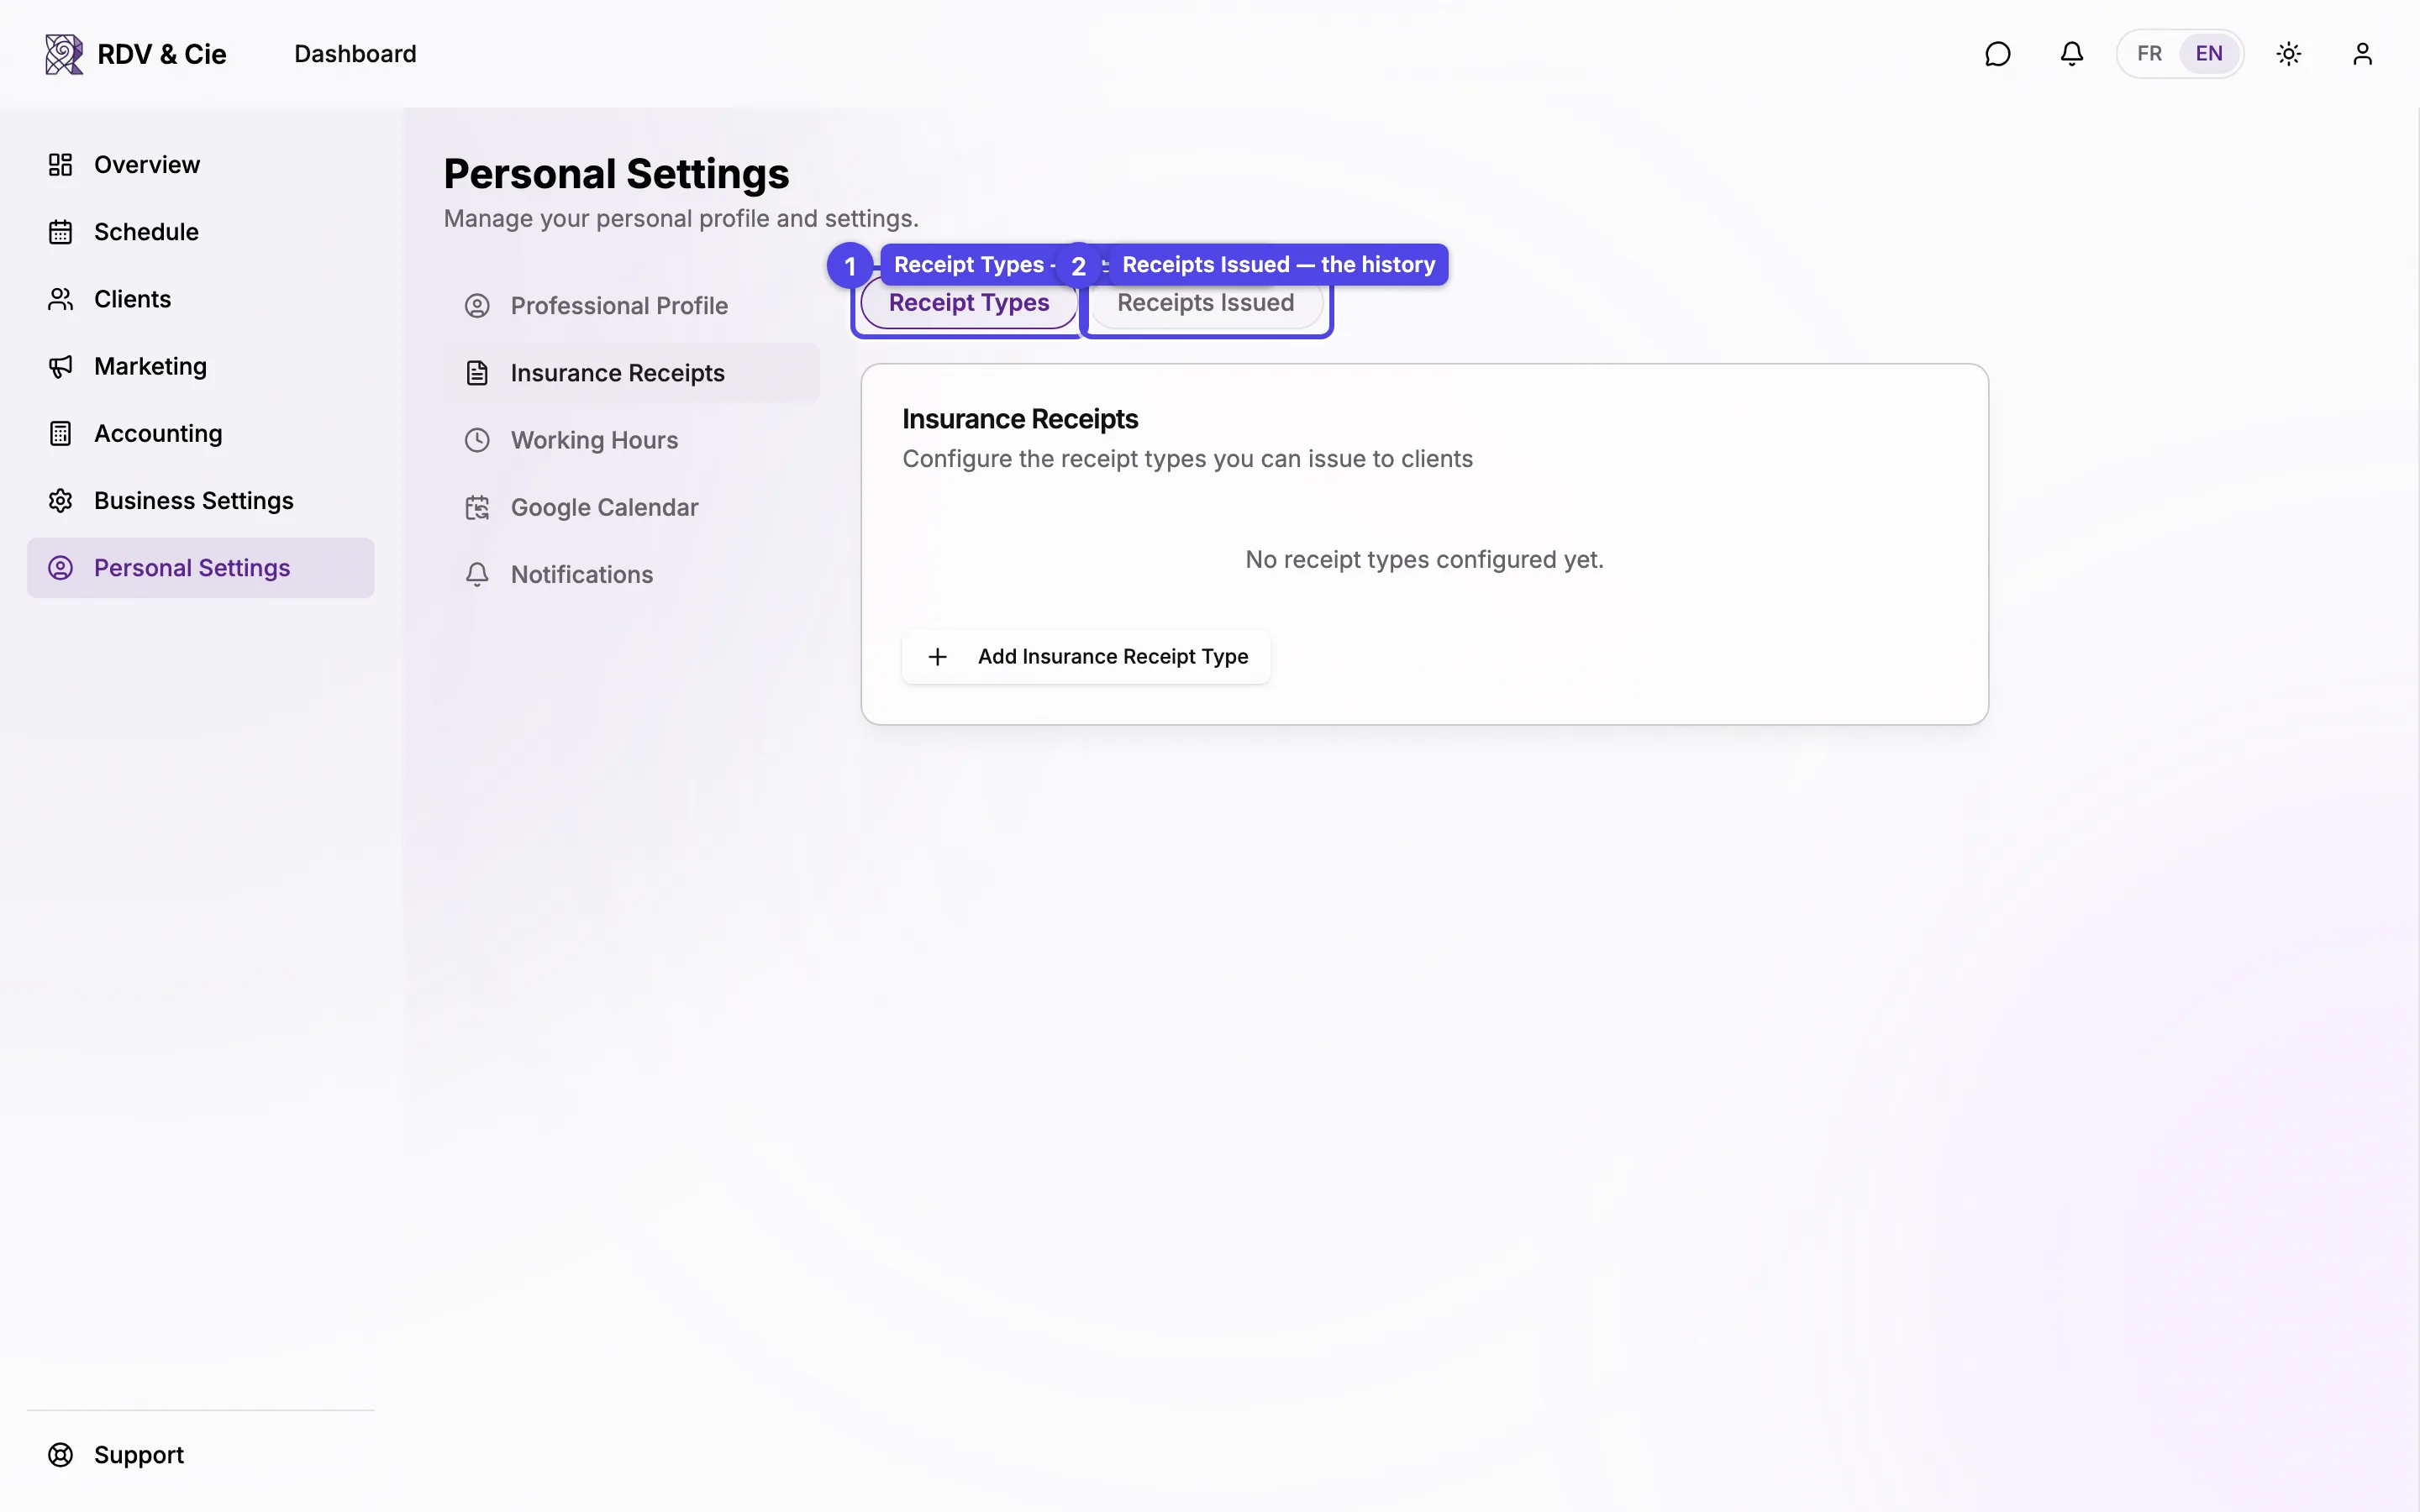
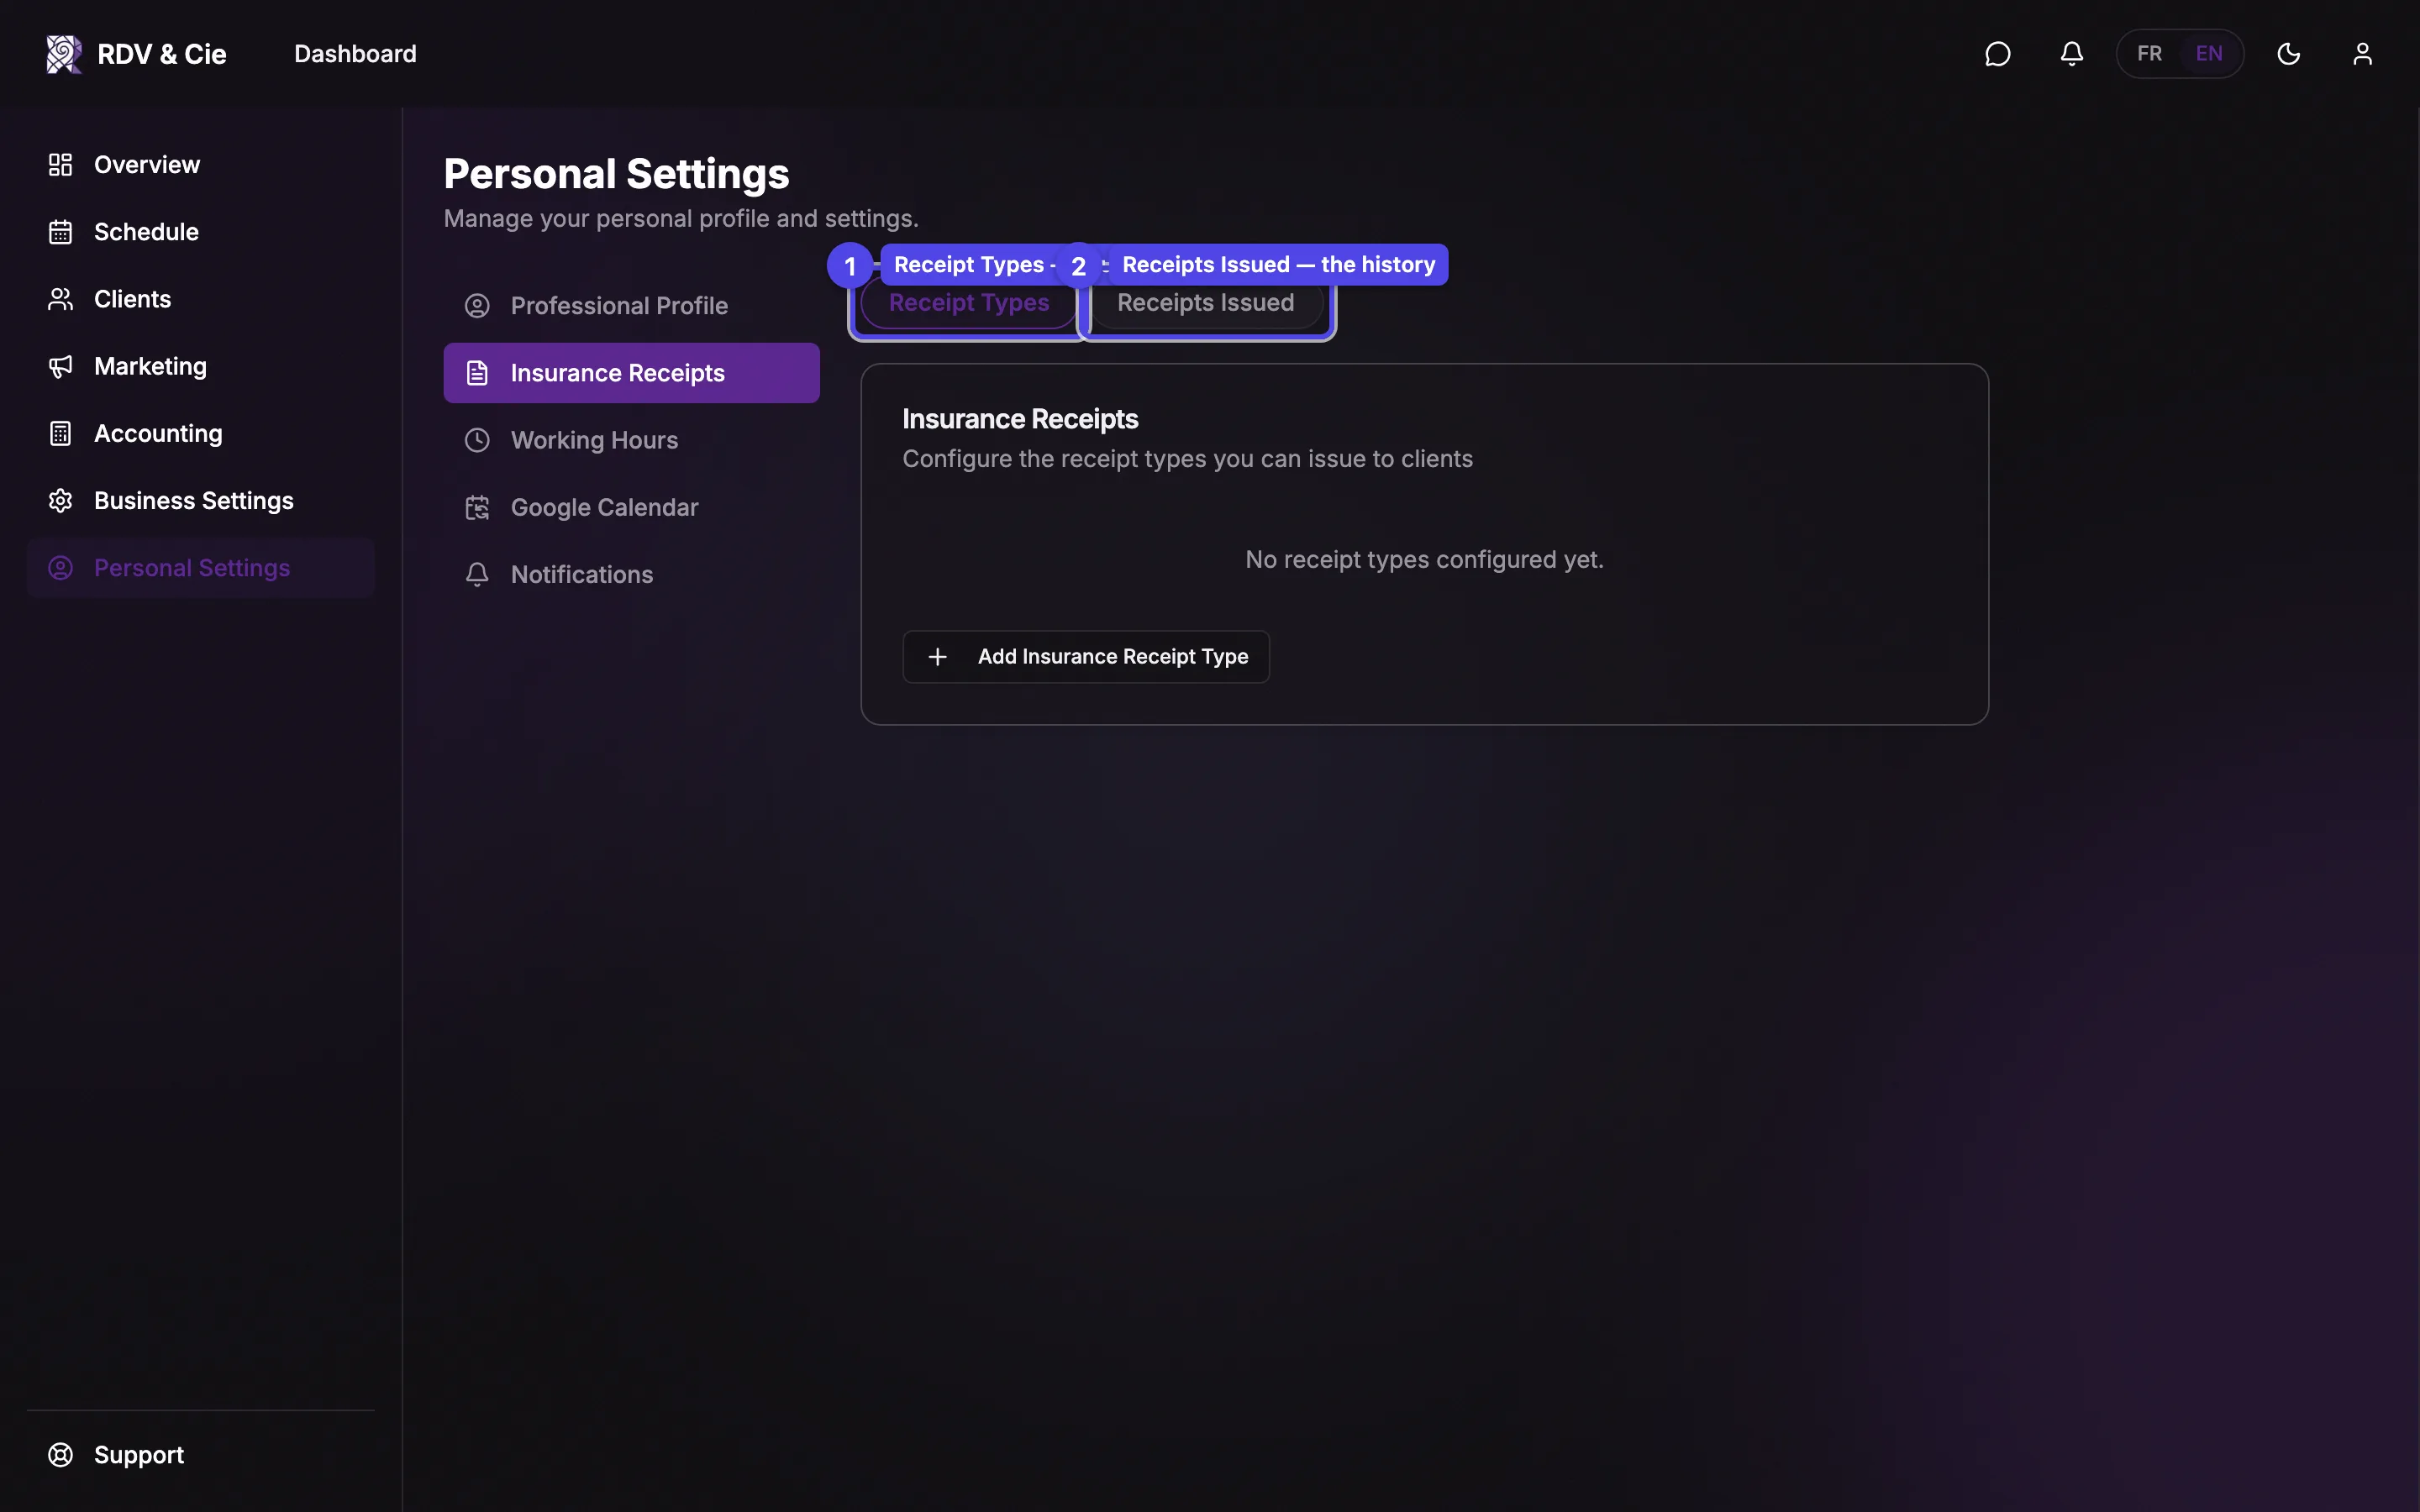
Receipt Types
Your associations — each receipt type holds an association name, your member number, a contact phone, and an optional website. These appear on every receipt you issue under that type. Set these up before issuing your first receipt.
Receipts Issued
The history of every receipt you've issued, with filters and per-receipt actions. This is where you re-download or re-send a receipt later.
If the Receipt Types list is empty, add a type first — you can't issue a receipt without one. A brand-new business starts with no types and no issued receipts.
Issuing a receipt
You don't issue receipts from this list — you issue them from the client. Open a client's profile, go to their Receipts tab, and press New Receipt. Pick the therapist, the receipt type, and confirm the service and amount; the receipt is created and shows up here under Receipts Issued.
A receipt can be tied to a completed booking (its date and amount fill in automatically) or entered by hand for a session that isn't on the schedule.
Managing issued receipts
The Receipts Issued list is a table with a toolbar above it.
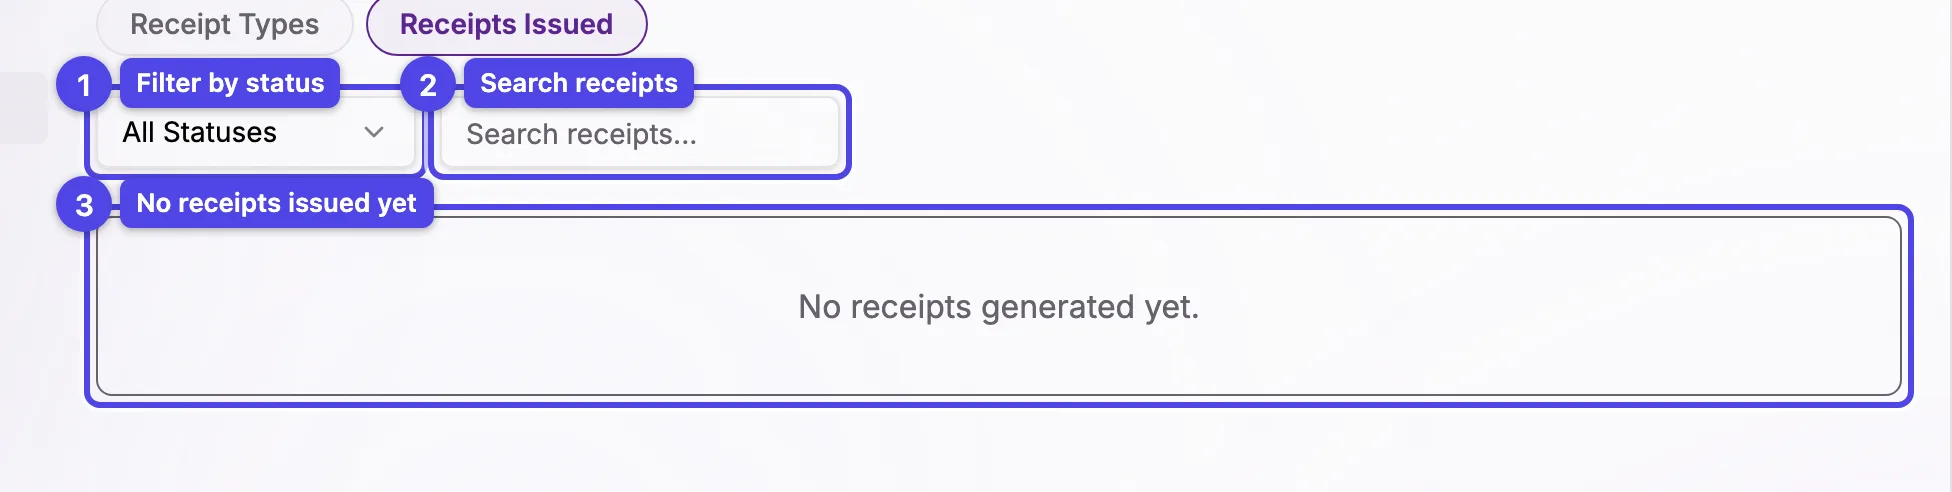
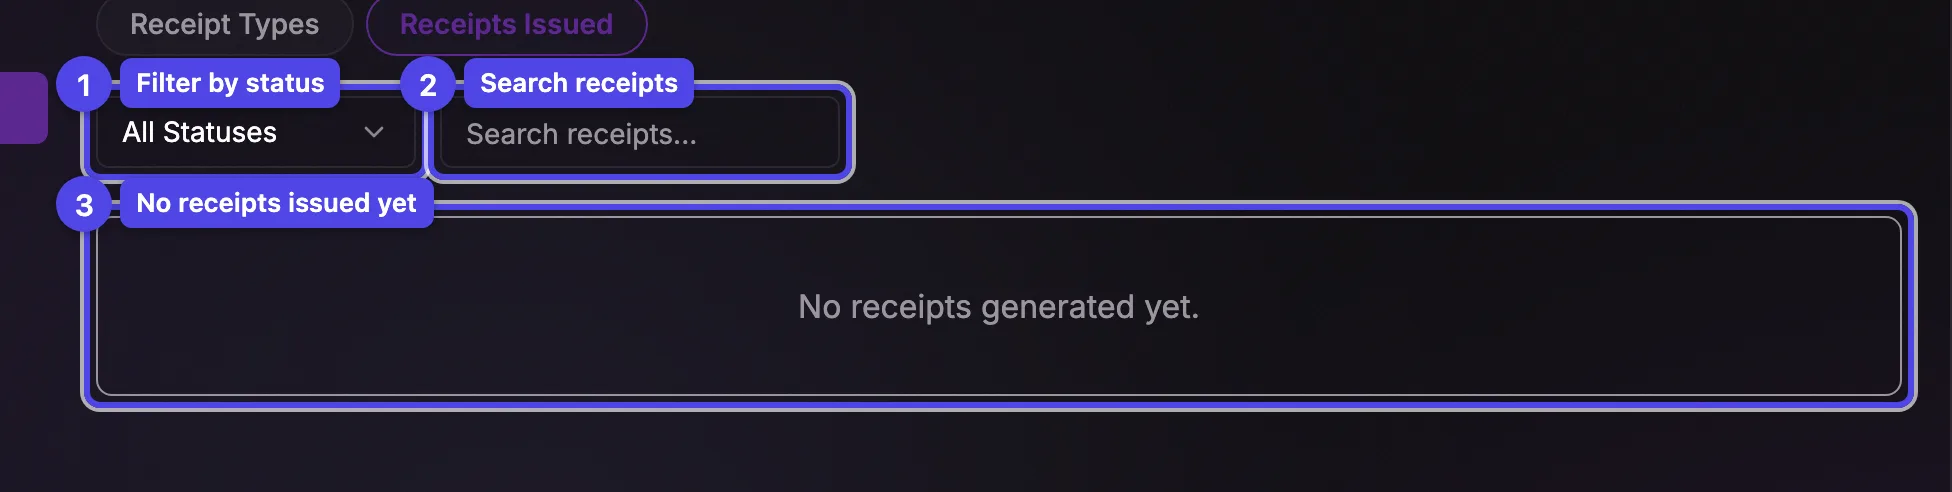
Filter by status
The status menu shows All Statuses, Valid, or Invalidated — handy for finding a receipt you've cancelled.
Search receipts
Search by receipt number or client to jump to a specific receipt.
Each row shows the Receipt #, Client, Date, Type, Amount, and Status, with these actions at the end:
- Download — opens the receipt PDF.
- Send — emails the PDF to the client. A dialog pre-fills the recipient, subject, and message from your receipt email template; edit any of it before sending.
- Invalidate / Revalidate — marks a receipt void (for example after a refund) or restores it. A confirmation asks before either.
Invalidating a receipt doesn't delete it — it stays in the list marked Invalidated so your records stay complete. Revalidate it if you invalidated it by mistake.
Insurance receipts are only available when receipts are turned on for your business.